

Introducing G_LOC - count your lines of code
Don't you think it would be fantastic to count the number of lines of code you have written till now? Well, let's do that with G_LOC...


Table of contents
Do you want to know how many lines of code you have pushed to GitHub?
Let's count them: 1, 2, 3, 4, 5, ....... Have you ever imagined what if anybody takes that pain from you and gives a nice card to you after scanning through your GitHub repos? Well, just leave that boring process up to me and you just enjoy with your card. Introducing G_LOC.

Project introduction
G_LOC -> (GitHub Lines of Code) is a website and MIT license open source project where you can sign in and get to know about your total lines of code. Also, your most used programming languages (by size not by a number of lines). Just sit down, and hit that generate button.
Note: To generate a card, all of your public and private repositories need to be scanned thoroughly. So the process will surely take a couple of minutes.
Inspiration, idea, and problem 🤷♀️
I don't know how this idea came to my mind. But one day when I was in bed eagerly waiting to fall asleep, I got this idea. Then I fell asleep and the next day I had to struggle for a couple of minutes to remember the idea. Luckily I remembered the idea and here is the result. Genuinely, I didn't know I will feel burned out while making this application.
Demo of the website
Homepage
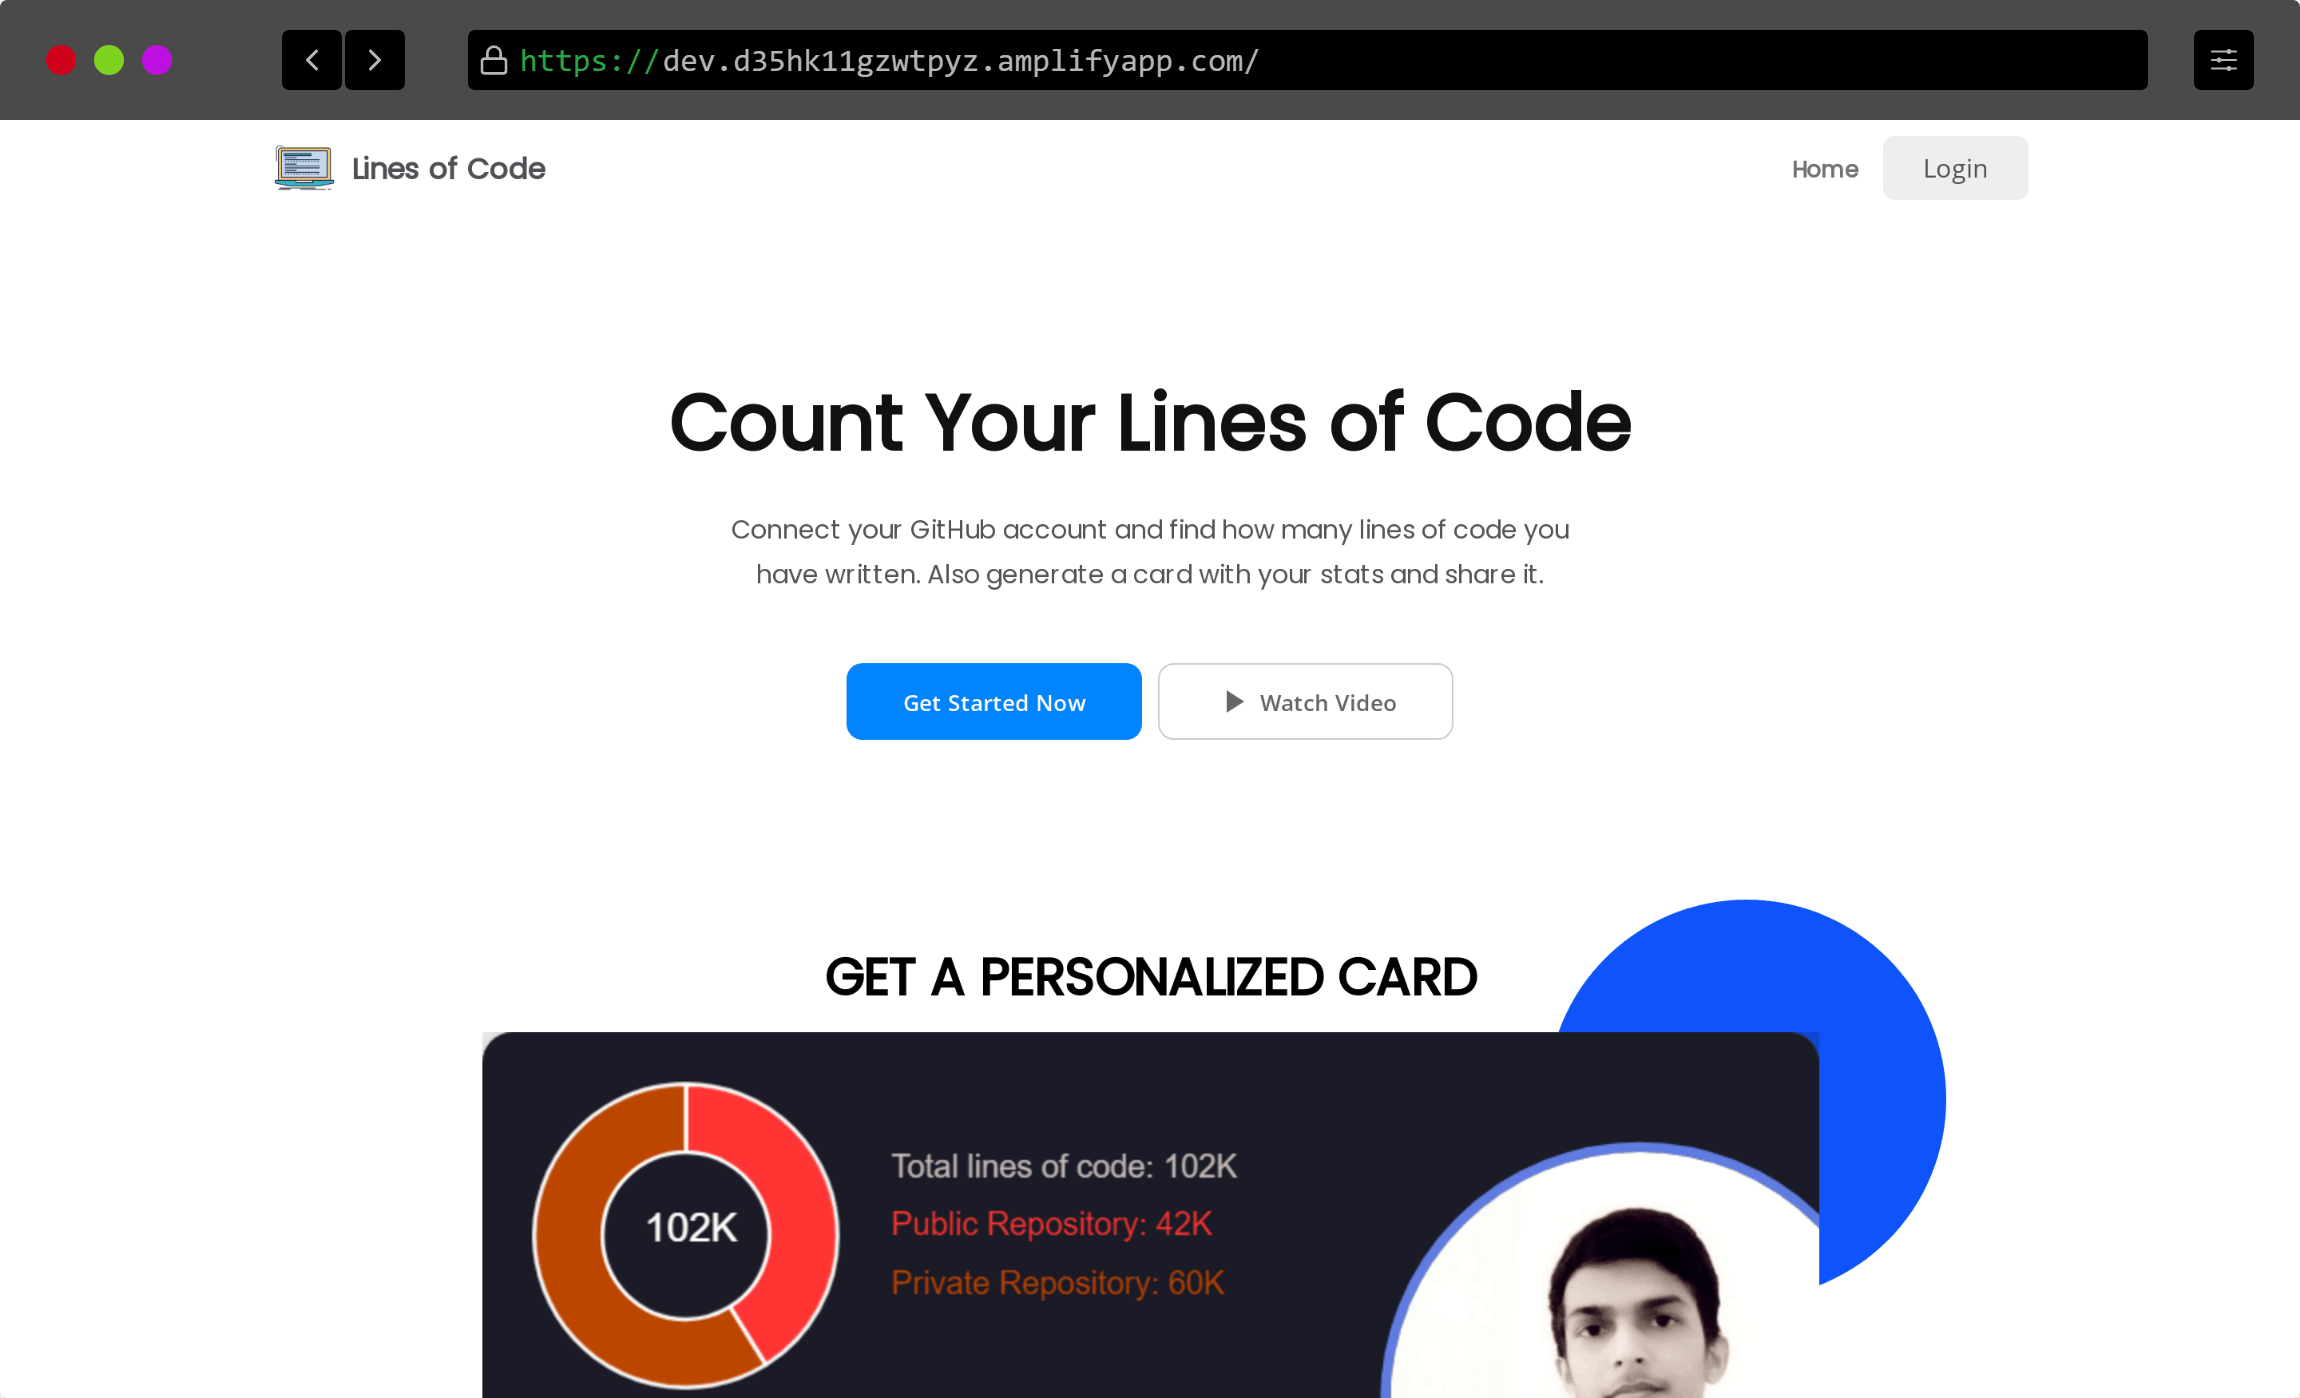
The first page you see when you land on G_LOC is this page where you are presented with some text, a few buttons, and an awesome video that introduces the website in itself. You can sign in with GitHub for the app to work, you should provide access to your private repositories also for an effective search of your profile. And you find a features section and a little footer when social media handles and attributions are provided.
Dashboard app

Here you find your previous card if you are an old user otherwise you will get a button to generate a new card. Not too much but enough to do our stuff.
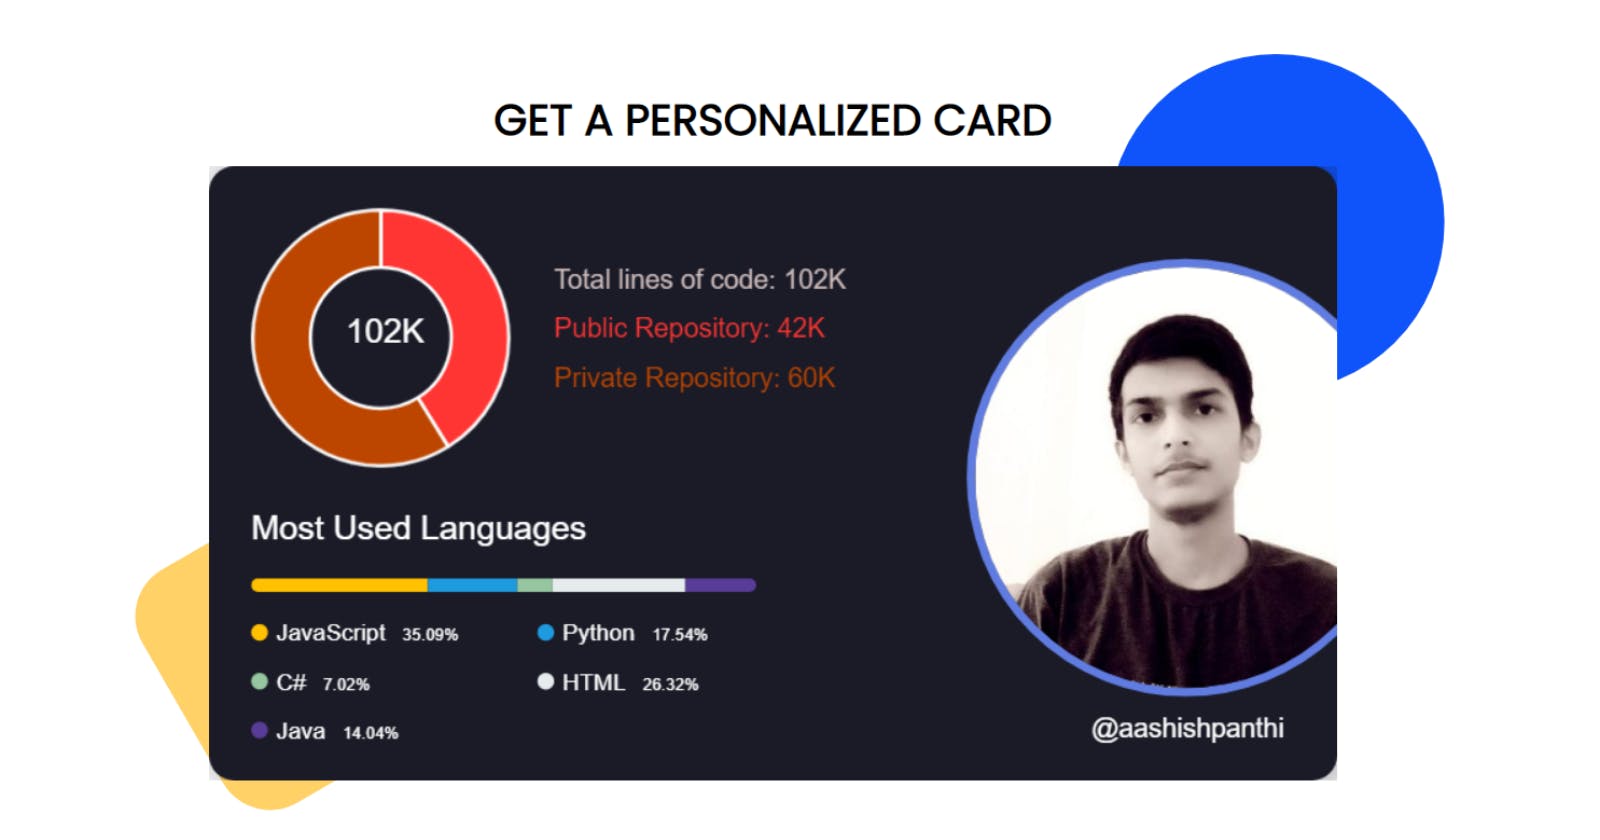
Card page

This is the page where you can find the card for everyone. Of course who is authorized or given permission to access their code😅. You can find two buttons here, one is to download the image in PNG format and another is to copy the image to the clipboard. You know what I have thought about comfort.
Other pages
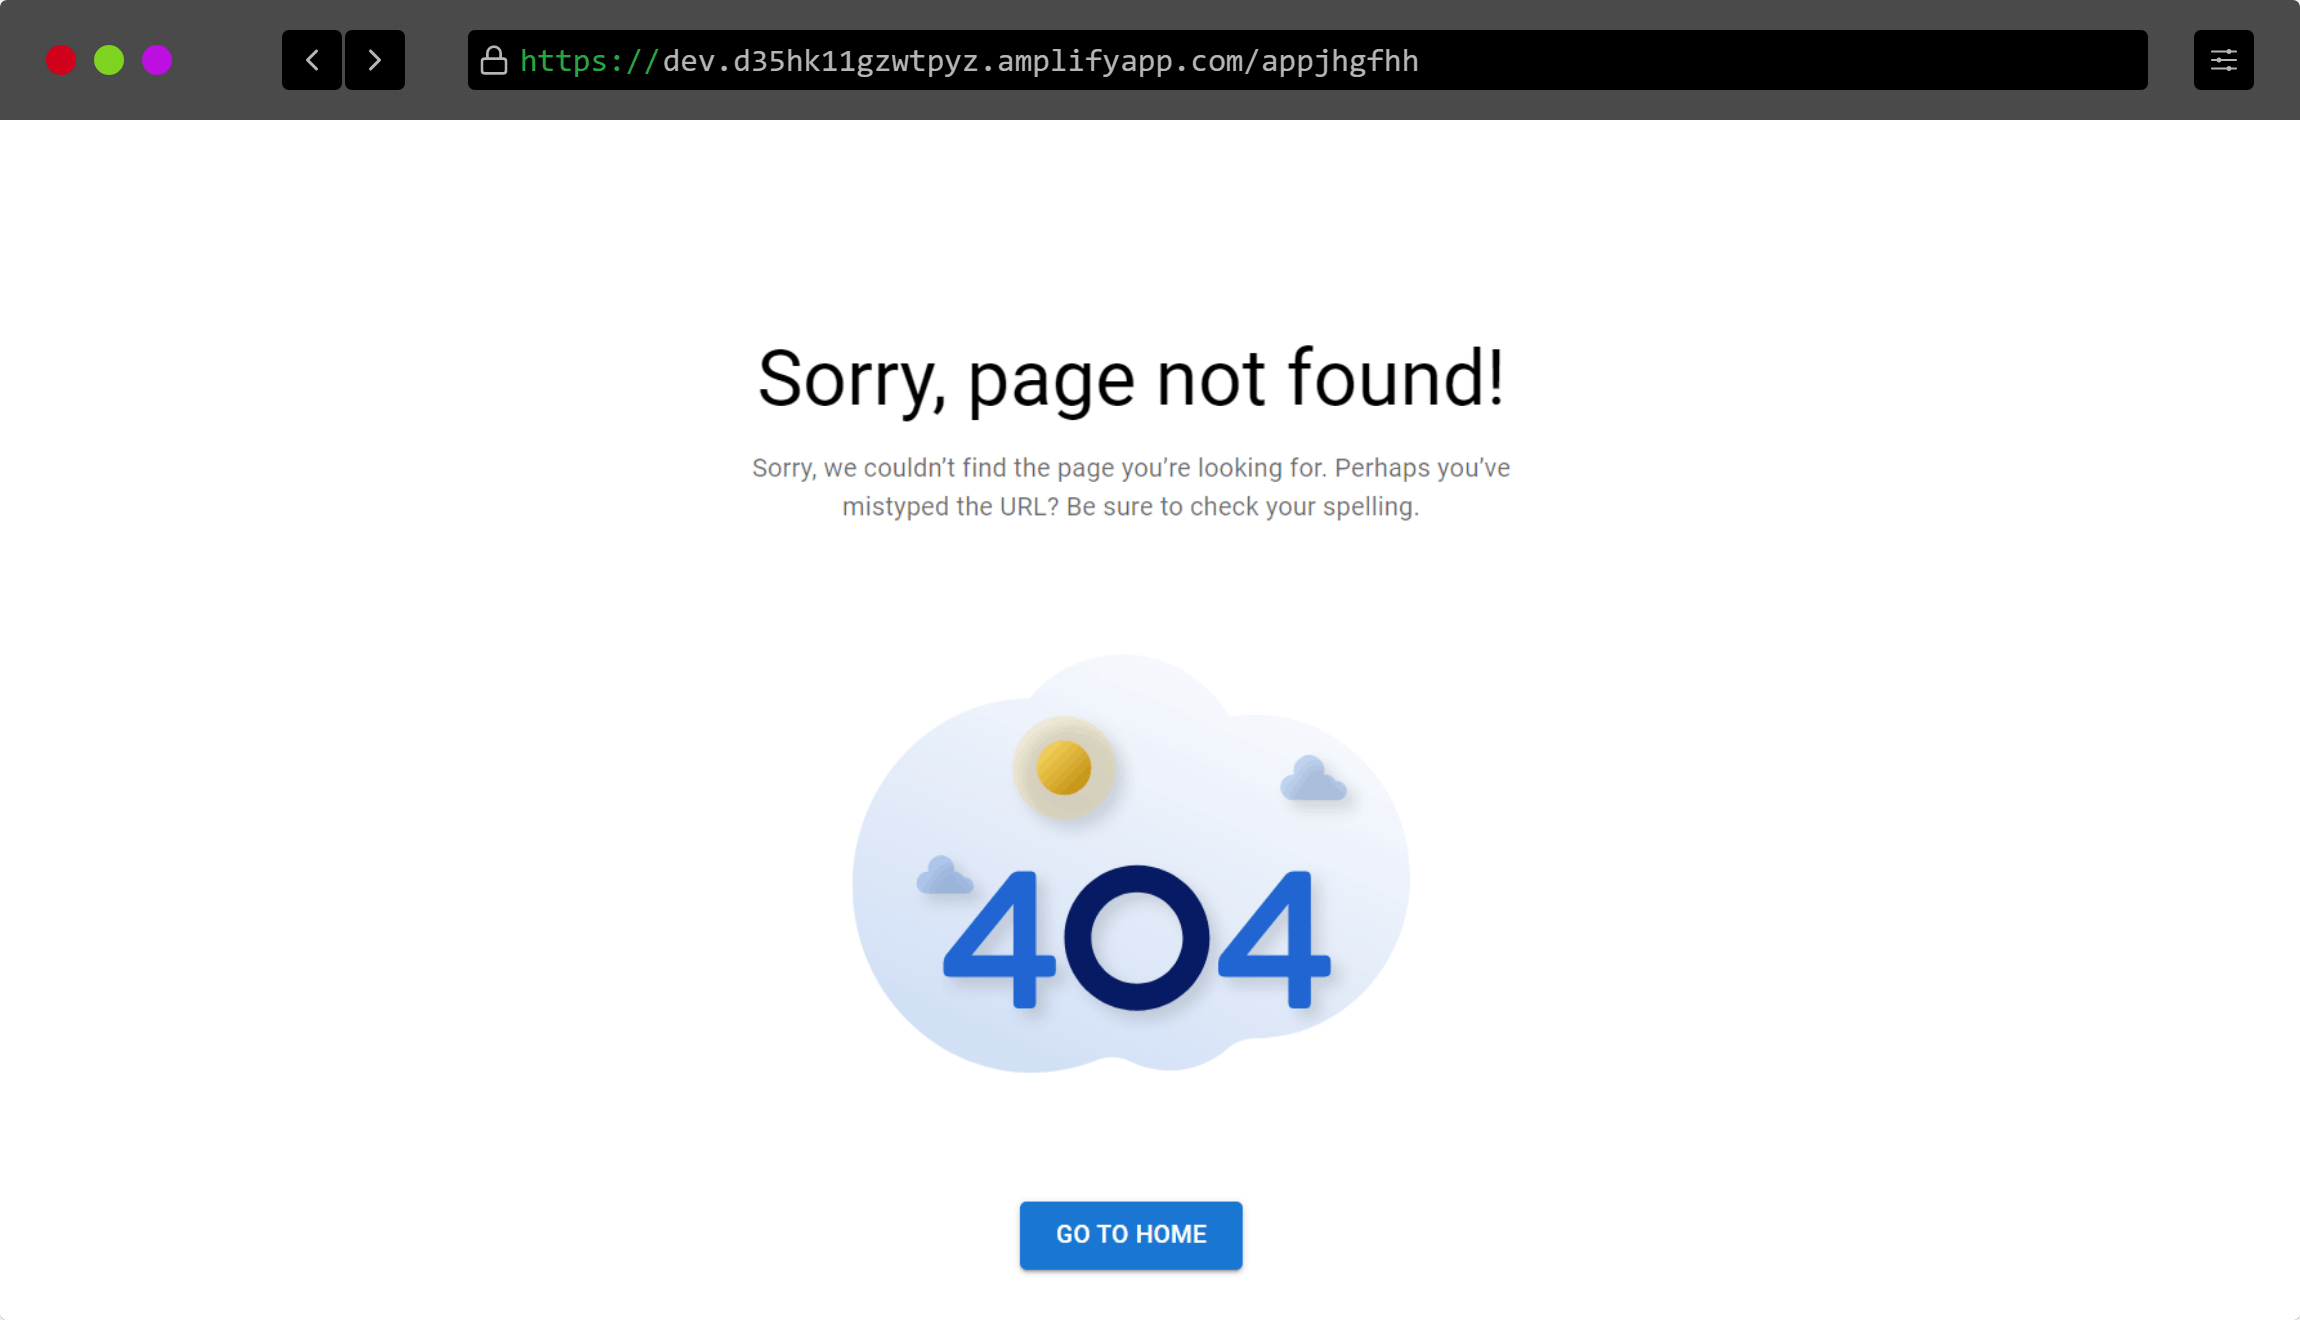 You get a very simple 404 page on the website.
How did I build it
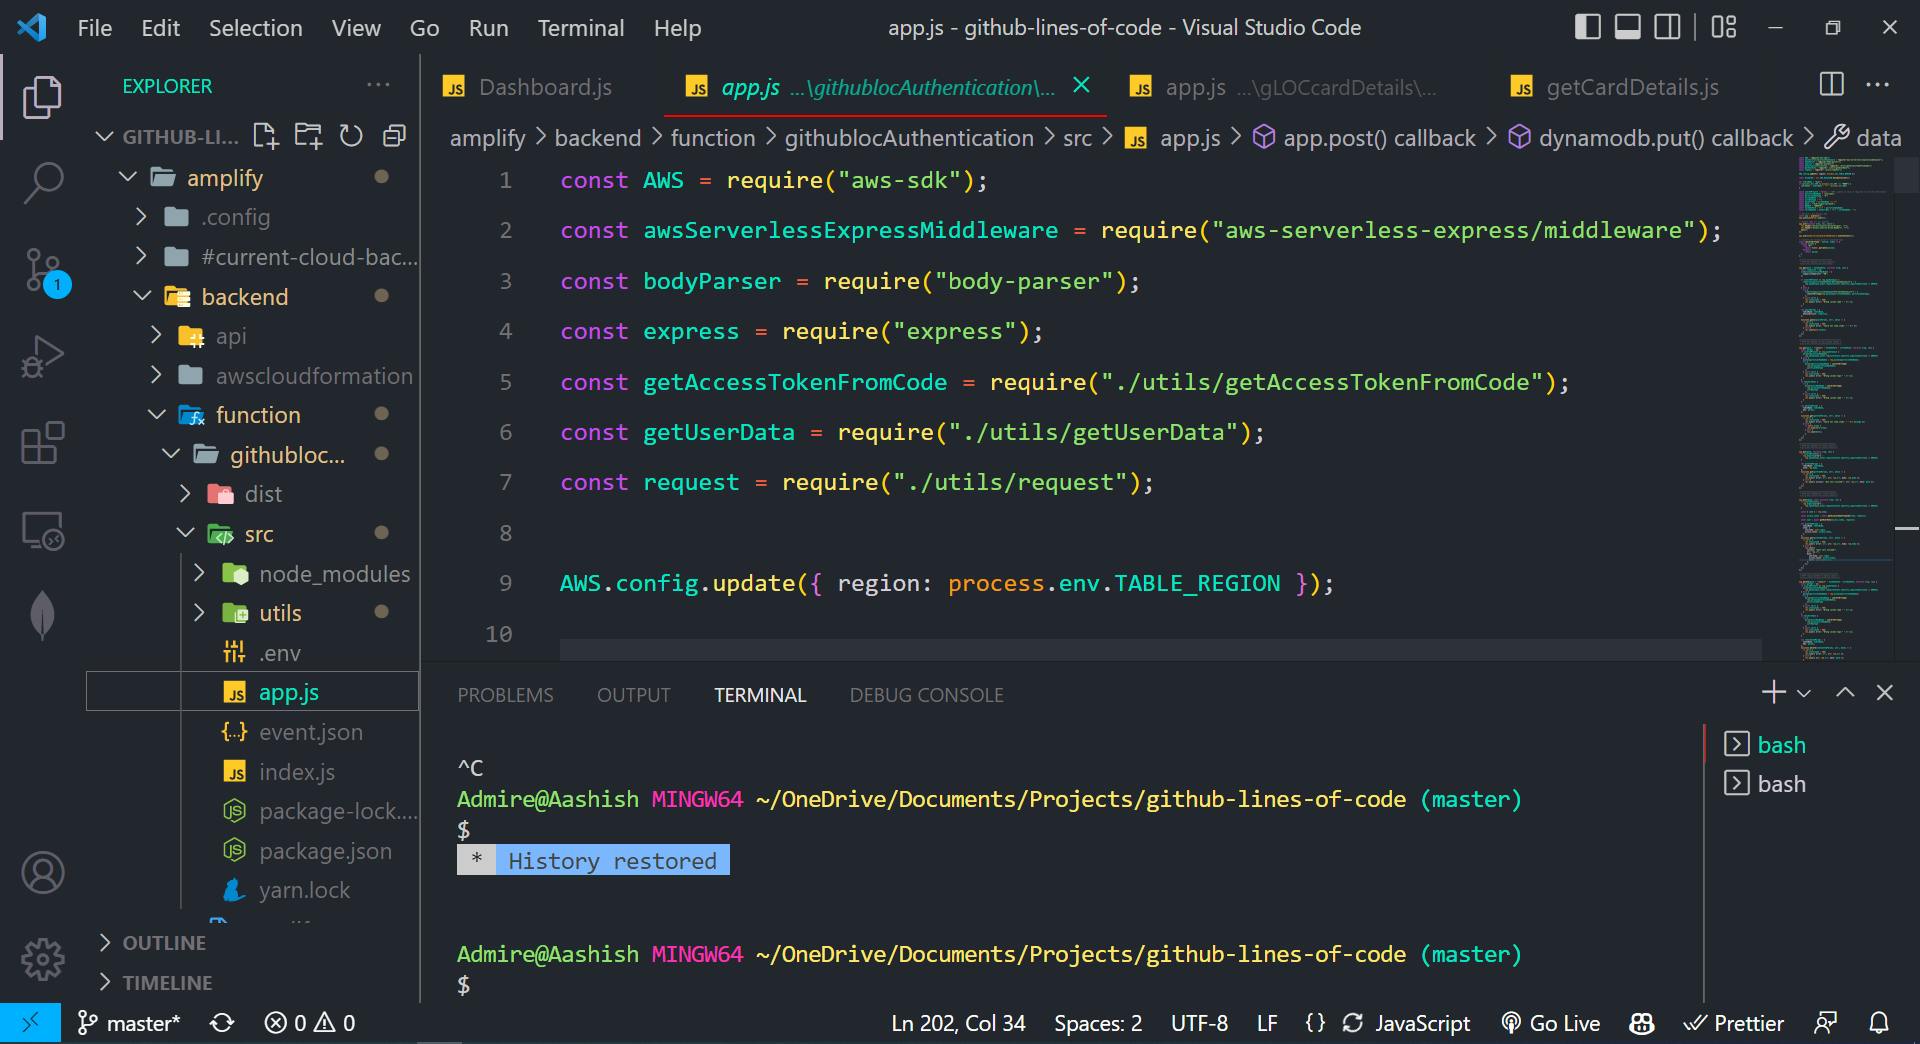
I coded the frontend part in react, created an express API with lambda functions, and deployed a using AWS amplify.
Tech stack 👩💻
- Reactjs -> For frontend
- Dynamo DB -> For database
- Express.js/lambda -> For API
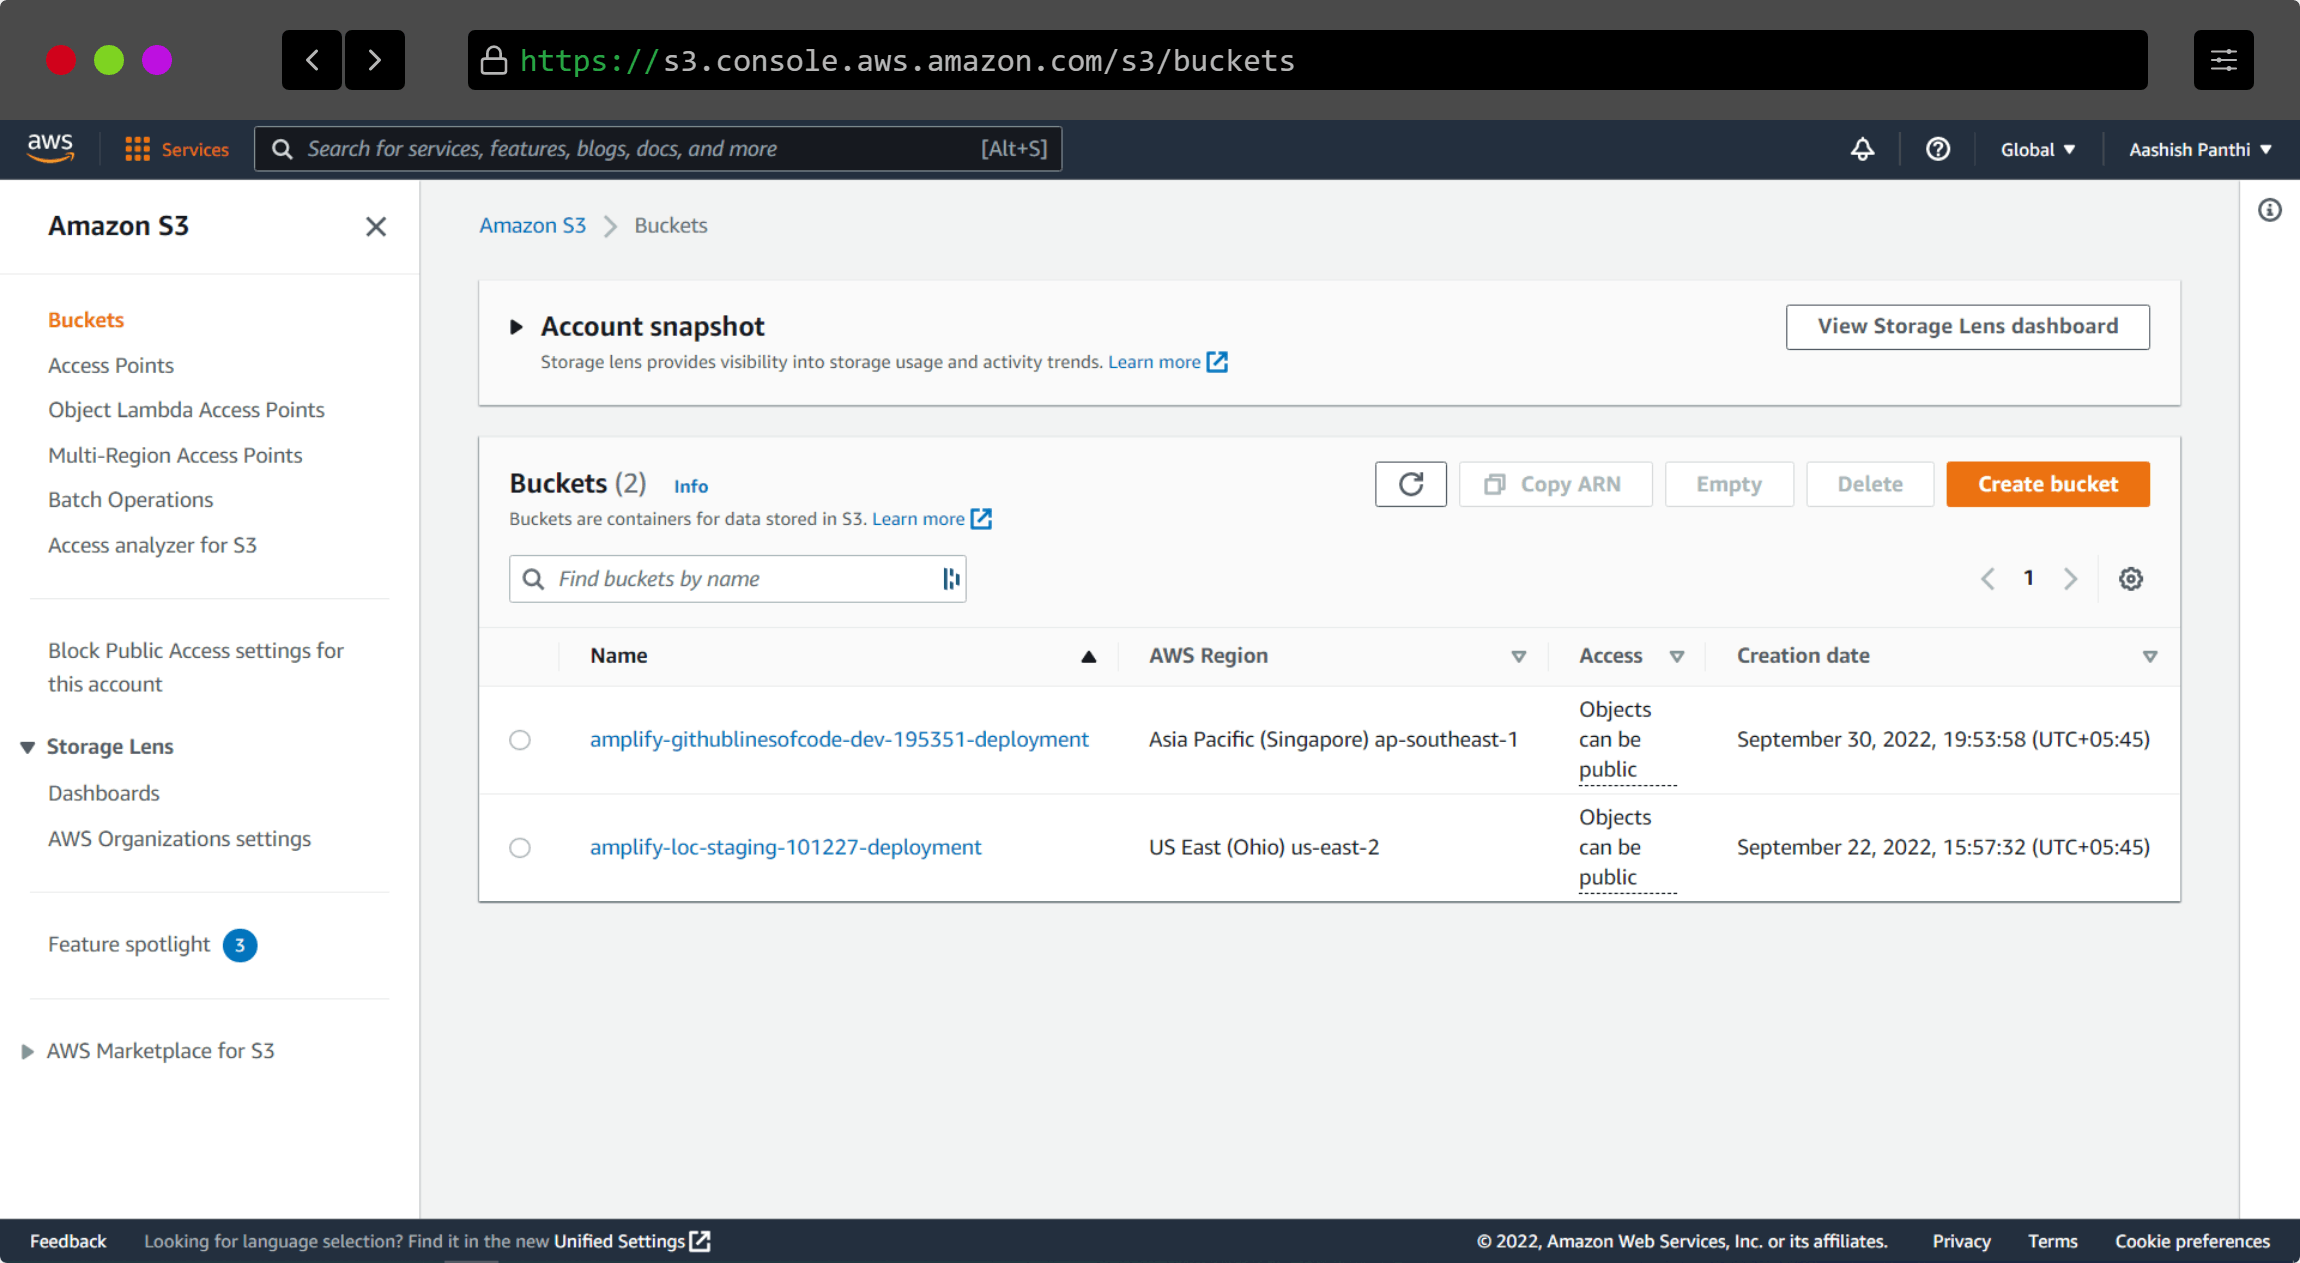
- AWS Amplify Hosting -> Deployment
Process 🤔
I have just finished up my exams so you can definitely guess my stress level of mine. Yes, it is at its peak. I am not even to make simple decisions. Overall GitHub API just screwed me up completely and also AWS Amplify was new for me. SO I had to learn various new tools.
1. 🏬 Frontend:
I am quite familiar with react so it wasn't that hard to start. I started with create-react-app and mui. And I have written some custom CSS also.
2. 📝 REST API:
As I was creating the front end, I had to somehow communicate with the back end. So, I created an express API run by lambda functions and when I hit different endpoints, I was able to perform different tasks.
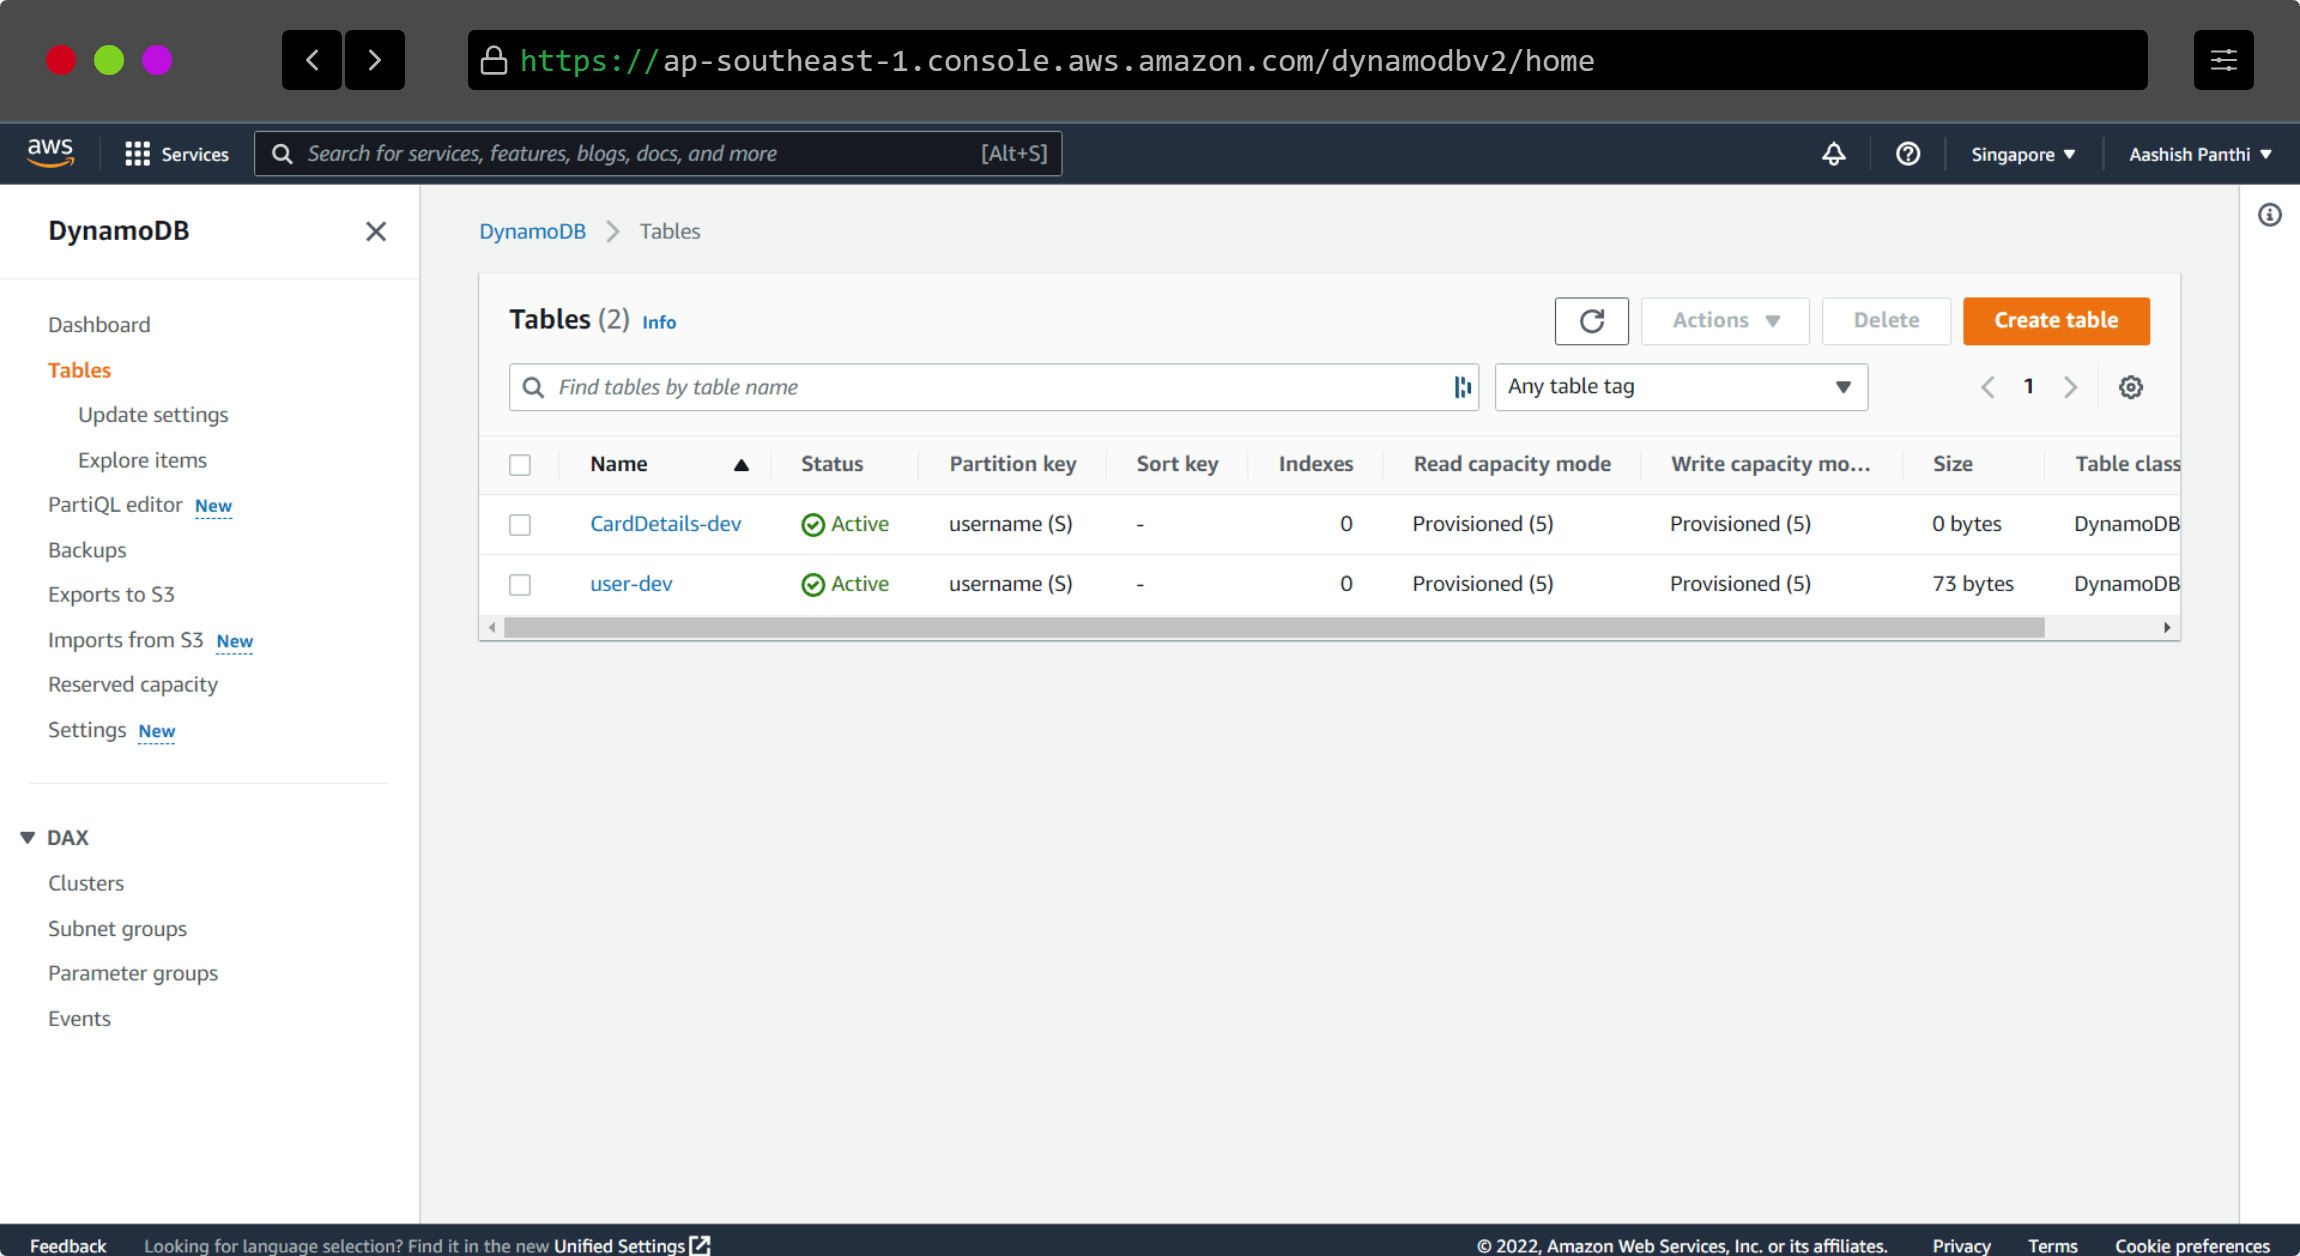
3. 🛢️Setting up database
I used Dynamo DB, if I have to be more specific, I used Dynamo DB provided by AWS Amplify. A Fast and flexible NoSQL database with seamless scalability. I have used it to store the GitHub access token of a user and to store the card details.
Deployment
My whole application is based upon javascript. Frontend with React and backend with express. I configured the project with amplify CLI and deployed both frontend and express API with it.
Challenges I faced 💪
- You can't imagine, how worse it was to get the lines of code of each file inside of each folder of each repository. This was a real nightmare and took a lot of patience.
- Work on the terminal and use CLI
- Creating a lambda function
- And I was in the situation feeling I don't know anything, every day
Functions ⚒
Oh, we haven't discussed much on the functions of the website 😅. It counts the lines of code you have written till now and which you have pushed to GitHub. It not only checks the lines in public repositories but also checks the code inside of the private repositories. Also, it checks for the size of each file and lists out five major programming languages that are mostly used. It is all presented via card that you can copy or download and add it to your README or anywhere.
💡 What did I learn?
I have made a few React projects in the past but I haven't made any project this. I learned to use AWS Amplify and most importantly I learned howto navigate through the complicated dashboard of AWS Amplify. There were a lot of googling, frustrating moments, and bugs without errors. But I can summarize my outcomes here as follows:
- Using Lambda: From complete beginner to being able to use it conveniently.
- Using Hosting I was able to host my React App with AWS hosting.
- GitHub API I got a real taste of GitHub API😥
Important links 🔗
Summary
Overall the hackathon was a great experience for learning. I got to learn about AWS Amplify, the network tab in the developer console and learned some better ways to google. And most important of all, I developed a new skill of being patient when my code doesn't work and I don't get any solutions at all. Taking help from friends on discord and shaping the app, the journey was awesome. If you haven't tried it yet, try it now.
Connect with me on Twitter @aashishpanthi11.