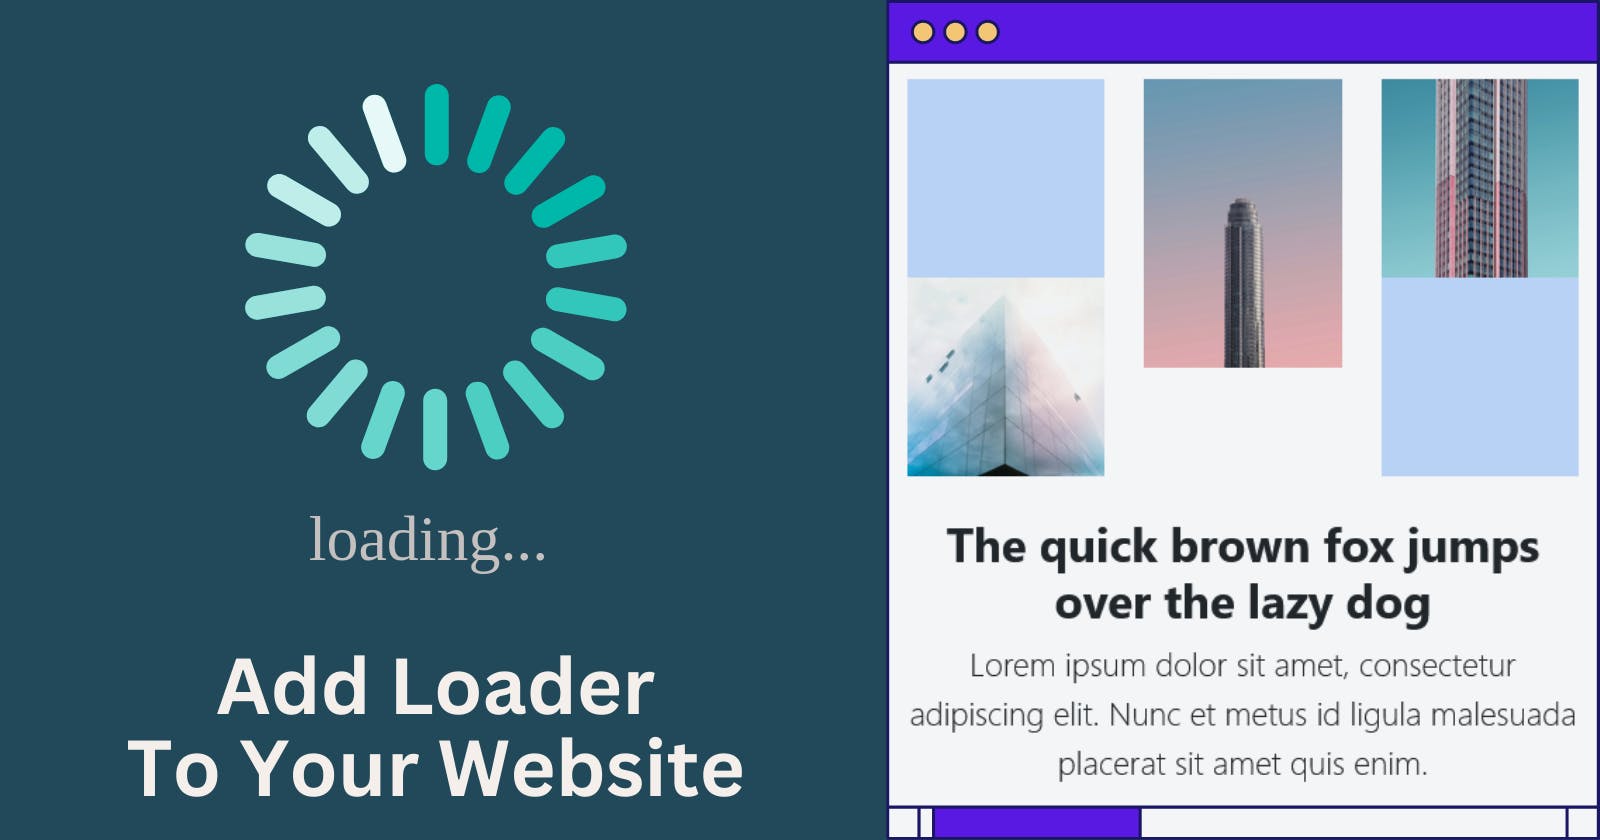
In the fast-paced world of web development, creating an engaging and seamless user experience is important. One effective way to achieve this is by implementing a loading animation on your website. In this tutorial, we'll explore the step-by-step process of creating a visually appealing loading spinner using HTML, CSS, and JavaScript—no jQuery required!
Why Loading Animations Matter

Loading animations not only serve a practical purpose by indicating to users that your page is loading, but they also contribute to the overall aesthetics of your website. A well-designed loading animation can create a positive first impression, keeping users engaged during the brief loading period.
The Tools We'll Use
Before we dive into the tutorial, let's briefly go over the tools we'll be using:
HTML: The structure of our web page.
CSS: Styling to make our loading animation visually appealing.
JavaScript: Dynamic behavior to control when the loading animation appears and disappears.
Before starting:
If you prefer watching videos then you can watch this video to understand how the loader is integrated seamlessly into a website.
But if you prefer reading then let's code the loader together.
Step 1: Setting Up the HTML
Start by creating the HTML structure of your page. For simplicity, we'll create a loading div that will house our animation:
<!DOCTYPE html>
<html lang="en">
    <head>
        <meta charset="UTF-8">
        <meta name="viewport" content="width=device-width, initial-scale=1.0">
        <link rel="stylesheet" href="styles.css">
        <title>Your Website</title>
    </head>
    <body>

        <div class="loader-wrapper">
            <div class="loader"></div>
        </div>

        <div id="content-container">
            <!-- Your website content goes here -->
            <h1>Hi, there</h1>
            <p>I am the content.</p>
        </div>

        <script src="script.js"></script>
    </body>
</html>
In the above code, you see we have a loader with a loader-wrapper and a content-container. The loader is the loader and the content-container houses all of your code that you use while making a website.
Step 2: Styling with CSS
Now, let's add some styles to make our loading animation visually appealing. Create a new file called styles.css:
.loader-wrapper{
    height: 100vh;
    width: 100%;
    position: fixed;
    top:0;
    left:0;
    display: grid;
    place-items: center;
    background-color:#fff;
}

.loader {
    border: 8px solid #f3f3f3;
    border-top: 8px solid #3498db;
    border-radius: 50%;
    width: 50px;
    height: 50px;
    animation: spin 1s linear infinite;
}

@keyframes spin {
    0% { transform: rotate(0deg); }
    100% { transform: rotate(360deg); }
}
The above CSS code will make a simple CSS loading animation. If you want a more customized and modern loader on your website then you can code your own or use from https://css-loaders.com/ website. They have hundreds of great CSS animations, with source code folk.
Now that you have a loader with loading animation, we need to hide the content container i.e. the div with the id content-container:
#content-container {
    display: none; /* Hide the loading container by default */
}
Now when the loading animation is complete or when our HTML page is completely loaded, we need to show the content, right? I think so.
So to show the content, you can use display property with any values except none. For now, we are going to use the block value:
#content-container.show {
    display: block; /* Display the loading container when 'show' class is added */
    /* Add your animation styles here; this is great if you want to show content with animation/transition */
}
So our final CSS file AKA style.css should look like this:
.loader-wrapper{
    height: 100vh;
    width: 100%;
    position: fixed;
    top:0;
    left:0;
    display: grid;
    place-items: center;
    background-color:#fff;
}

.loader {
    border: 8px solid #f3f3f3;
    border-top: 8px solid #3498db;
    border-radius: 50%;
    width: 50px;
    height: 50px;
    animation: spin 1s linear infinite;
}

@keyframes spin {
    0% { transform: rotate(0deg); }
    100% { transform: rotate(360deg); }
}

#content-container {
    display: none; /* Hide the loading container by default */
}

#content-container.show {
    display: block; /* Display the loading container when 'show' class is added */
    /* Add your animation styles here */
}
Step 3: Adding JavaScript Logic
Time to add dynamic behavior! Create a new file called script.js and add this code to your new file.
const content = document.getElementById("content-container");
const loader = document.querySelector(".loader-wrapper");

window.onload = function () {
    content.classList.add("show");
    loader.style.display = "none"
};
So what the above code does is: There is a function that runs when the page is fully loaded. When the function is executing, we'll add show class to the content-container which will make the content visible (refer to CSS code if you don't understand). Then we add a style property of display: none; to our loader-wrapper that will just make our loader go kaboom; in other words, make it disappear. Now we have a complete CSS loader on our website.
Step 4: Customize Your Animation
Feel free to customize the loading animation by adding your styles and adjusting the timing. Again, I am referring to https://css-loaders.com/ website. They really have good CSS animations.
And this is what our final product looks like (play with pen and reload to see loader):
Conclusion
Congratulations! You've successfully implemented a loading animation on your website using HTML, CSS, and JavaScript. By providing users with a visually pleasing loading experience, you've taken a significant step toward enhancing your website's overall appeal.
Remember, a positive user experience goes a long way in retaining visitors and encouraging them to explore your site further. Happy coding!

