

Dynamic Open Graph Image generator using Vercel-og
Build a countdown social media og:image using nextjs and vercel/og

I am a developer from Nepal who loves playing with tech.
Ever thought of building something and got busy with other tasks? And... suddenly remembered the idea? And... you really worked on it? Well that's what happened to me with this idea.
The beauty of being a programmer is that you can build anything, not a money machine of course - that's illegal.
The idea
The whole idea of this project is to make a dynamic OG(open-graph) image. When I say open graph image, I mean the image that displays above the title and description when you share the link in chat or somewhere on social media that has a link preview.
Despite a static image, I wanted to build an image that changes, like really changes over time. Something like this:

Yes, I wanted to build a countdown timer and just throw it up into social media and see the clock ticking - tic tic tic,
So this type of dynamic og image isn't just a crazy idea it's helpful too. I want you to think a situation like you have your birthday comming up and you want to do something awesome like making a website for invitation and when you share the invitation on chat then instead of just good old boring og:title and og:description, you now have a damn big og:image with some text like "my dear boy George you suck at your life but you're invited to my birthday party."
Think how quickly George notices his name on the OG image. Although he won't be happy reading that but hey we just sent an extraordinary invitation.
Goal
So the goal of this project would be to build a countdown timer instead of the birthday invitation OG image. We're going to do that in typescript and will be using @vercel/og. And that's it.
Prerequisites
You've time and an eagerness to learn.
You should be somewhat familiar with Nextjs because we're going to use that. You can just go through this article even if you only know React.
I expect you to know TypeScript but if you don't it's fine. Even I suck with typescript. Also, for you plain JavaScript lovers out there, I'll be leaving the JavaScript code at the end.
Building the Dynamic Countdown OG Image with Vercel OG
Now, let's dive into the code implementation!
Project Initialization
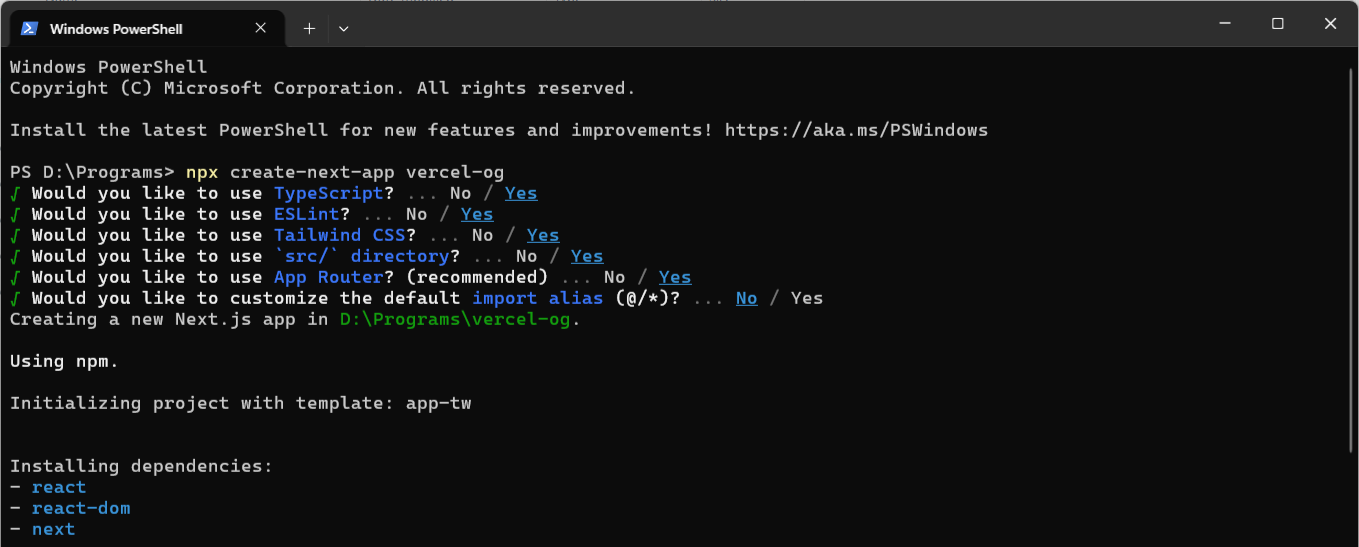
First, we need to create a next application which we can do with the following command:
npx create-next-app vercel-og
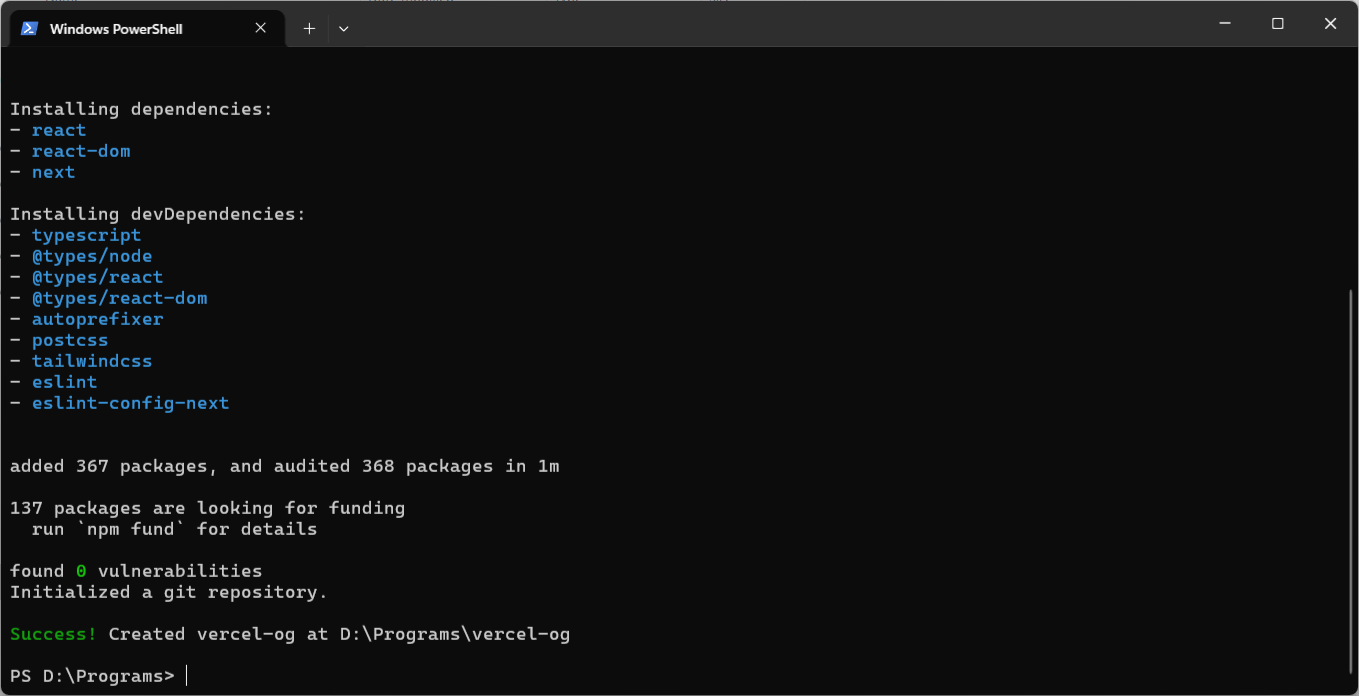
Now configure the nextjs application just how you prefer. If you want to do it like me then here is what I did.
You gotta wait some time for the dependencies to be installed. Once that happens, you can see the success message that looks exactly like this:
Let me show you a quick hack to open our project in VS Code editor. Surely, I don't expect you to know this. Please, I just want to look cool for real.
To open the project in VS Code, the first thing you need is the VS Code which you can download from code.visualstudio.com. Once you have the editor you need to move to the project directory with the cd command.
cd vercel-og
Then to open the project inside of the VS Code editor, you run the following command:
code .
If you're lazy like me, instead of the two separate commands that we discussed above we can use only one. Let me show you:
code ./vercel-og/
And that works.
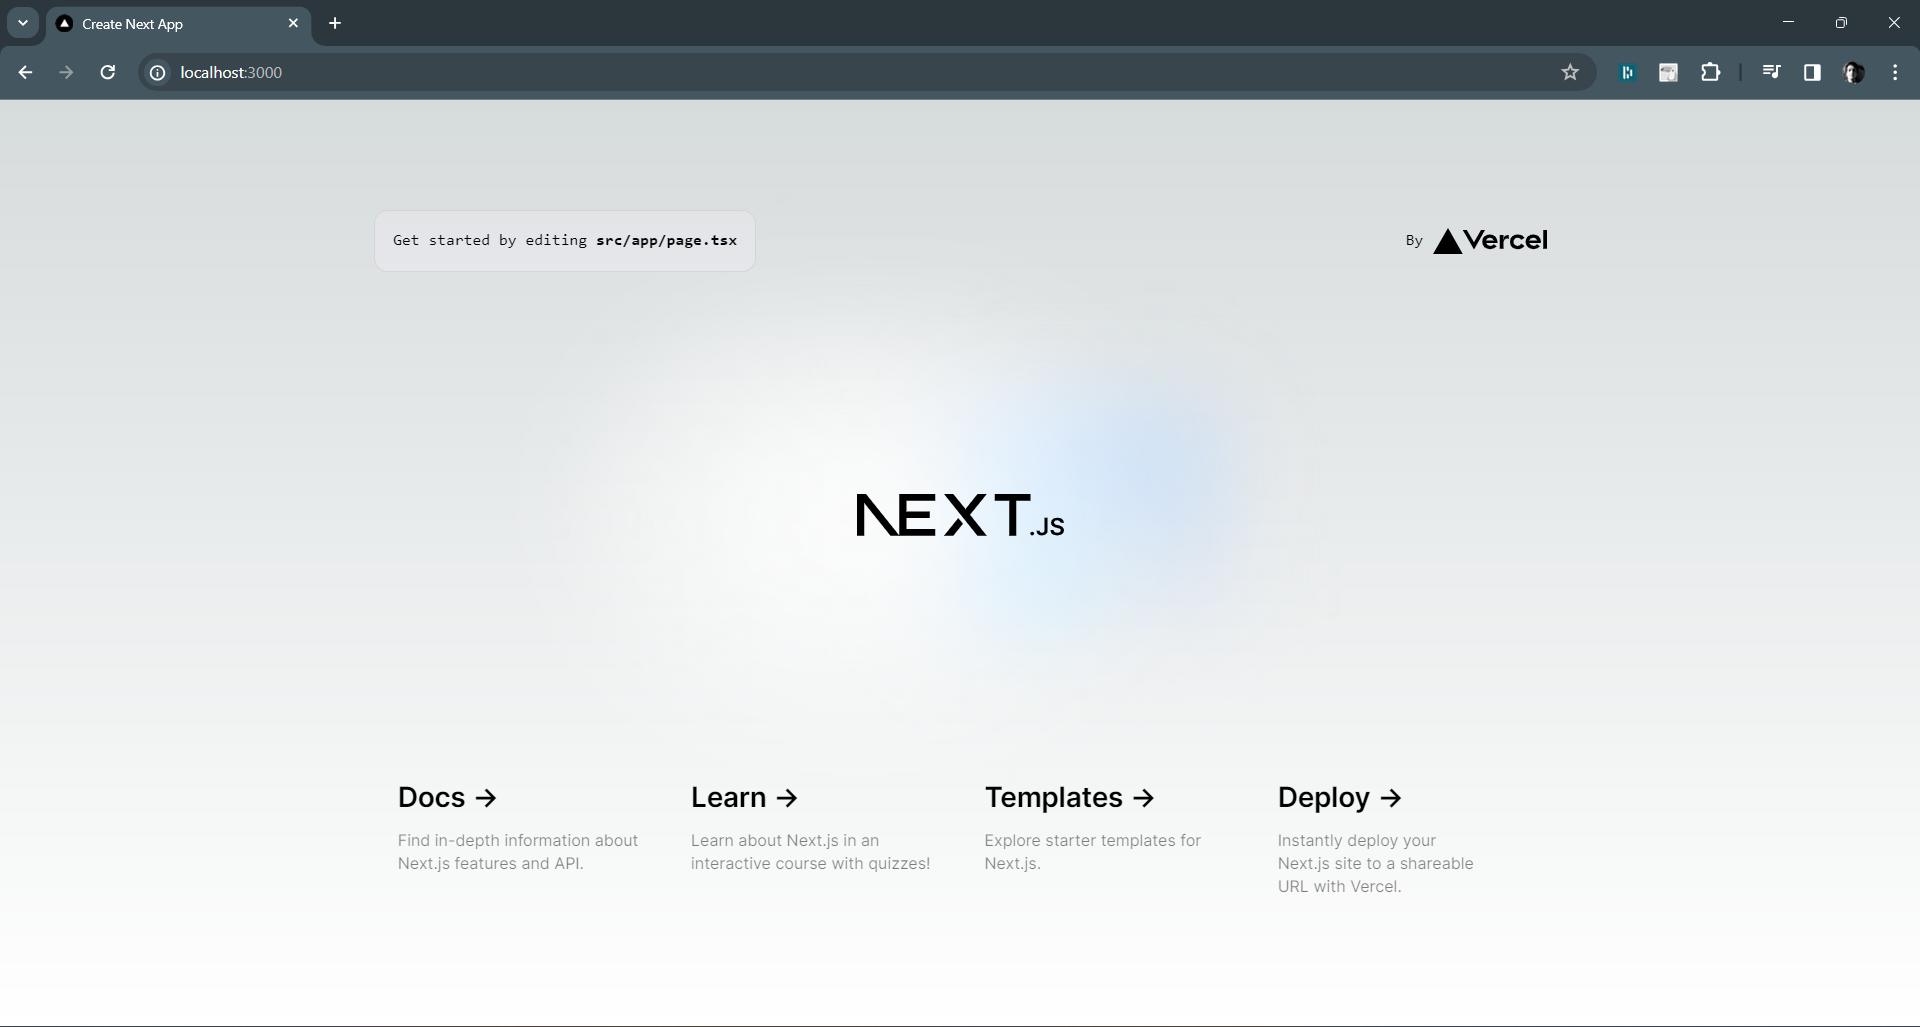
So, now we need to see if we successfully initialized a next application or not. To run the application, you the npm run dev command:
npm run dev
And you need to open up a browser and visit localhost:3000. Then you need to wait for the code to compile. I've been there so I know how painful it is but just wait and after a minute or so you will see the website that looks something like this (it really depends on which version of nextjs you're installing):
Generate dynamic image
So, if you remember I said we are going to use vercel/og package to generate a dynamic image. Lets install the package. You can run the npm install command to install the package:
npm i @vercel/og
If you don't know about this package then you can learn more about it on vercel's website or on the npmjs.com.
One thing I forgot to remind you is that App router includes @vercel/og. So no need to install it. But if you aren't using the app router or doing this on your react app, install the package.
And we're using the App router in this example.
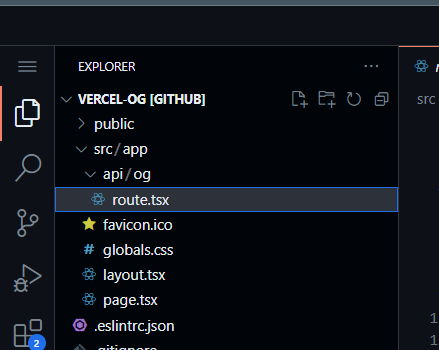
Now let's create a file inside of our project. Just go inside of the app folder and create an api folder, inside that create another folder named of then create a new file inside the og folder and name it route.tsx
The project tree looks like this:
And inside of that route.ts file, the magic happens; the magic of dynamic image generation.
First, let's just try pasting the code vercel provided as an example.
import { ImageResponse } from 'next/og';
export const runtime = 'edge';
export async function GET() {
return new ImageResponse(
(
<div
style={{
fontSize: 40,
color: 'black',
background: 'white',
width: '100%',
height: '100%',
padding: '50px 200px',
textAlign: 'center',
justifyContent: 'center',
alignItems: 'center',
}}
>
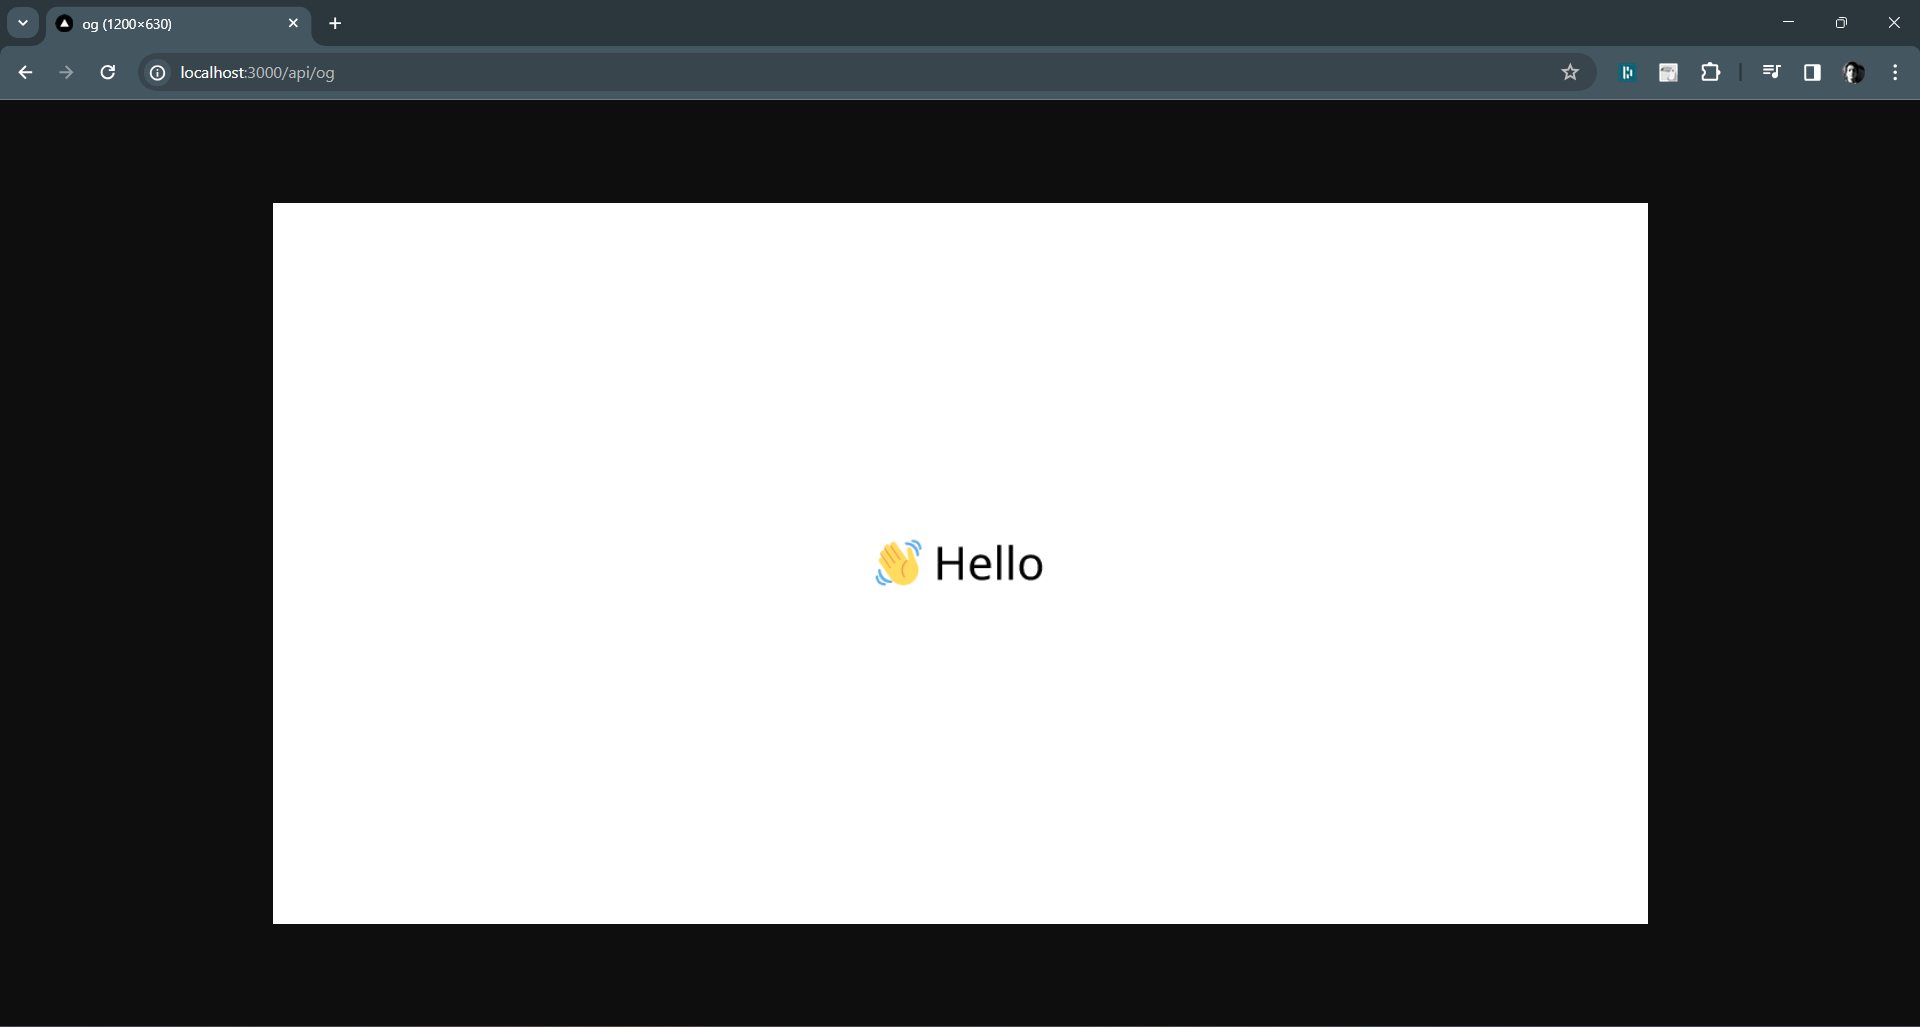
👋 Hello
</div>
),
{
width: 1200,
height: 630,
},
);
}
And those freaking out thinking the above code is in typescript, just look at it dude that's just the plain javascript. No type declaration is done.
Now try opening localhost:3000/api/og on your browser and you can see an image there. Hey, that's a sweet hello right there.
Now that we know how we can generate the dynamic image, we need to do some customization and then we'll end up with the perfect OG image we need. So, to style the components we can use style attribute. We can also use the tailwind css but it's in the experimental phase and just to be on safe side, I'm going to use the style attribute.
But before that let's play with date and time for a bit. So, we will have eventDate which of course is the date of the event that is happening and currentDate which is the date when the OG image gets generated. Then we will calculate the time difference between the eventDate and currentDate and try to come up with numbers in days, hours, minutes and seconds. And the code below works flawlessly.
  const eventDate = new Date("May 4, 2024");
  const currentDate = new Date();
  const timeRemaining = eventDate.getTime() - currentDate.getTime();

  const days = Math.floor(timeRemaining / (1000 * 60 * 60 * 24));
  const hours = Math.floor(
    (timeRemaining % (1000 * 60 * 60 * 24)) / (1000 * 60 * 60)
  );
  const minutes = Math.floor((timeRemaining % (1000 * 60 * 60)) / (1000 * 60));
  const seconds = Math.floor((timeRemaining % (1000 * 60)) / 1000);
Now that we have the numbers to present. We will make a place to present, basically we will make a skeleton with some styling and just place the variables we created above into that. So, the HTML or so called JSX that is used to generate the yellow OG countdown time is this:
const Time = () => (
    <div
      style={{
        display: "flex",
        flexDirection: "column",
        alignItems: "center",
        justifyContent: "center",
        fontSize: 40,
        color: "black",
        background: "#ffd54f",
        width: "100%",
        height: "100%",
        padding: "20px",
        border: "3px solid #ddd",
        borderRadius: "10px",
      }}
    >
      <h1
        style={{
          fontWeight: "normal",
          letterSpacing: ".125rem",
          textTransform: "uppercase",
          fontSize: "3rem",
        }}
      >
        Countdown to my event
      </h1>
      <div
        style={{
          display: "flex",
          maxWidth: "100%",
        }}
      >
        <ul>
          <li
            style={{
              display: "block",
              fontSize: "1.5rem",
              listStyleType: "none",
              padding: "1em",
              textTransform: "uppercase",
            }}
          >
            <span
              style={{
                display: "block",
                fontSize: "4.5rem",
              }}
              id="days"
            >
              {days < 10 ? `0${days}` : days}
            </span>
            days
          </li>
          <li
            style={{
              display: "block",
              fontSize: "1.5rem",
              listStyleType: "none",
              padding: "1em",
              textTransform: "uppercase",
            }}
          >
            <span
              style={{
                display: "block",
                fontSize: "4.5rem",
              }}
              id="hours"
            >
              {hours.toString().padStart(2, "0")}
            </span>
            Hours
          </li>
          <li
            style={{
              display: "block",
              fontSize: "1.5rem",
              listStyleType: "none",
              padding: "1em",
              textTransform: "uppercase",
            }}
          >
            <span
              style={{
                display: "block",
                fontSize: "4.5rem",
              }}
              id="minutes"
            >
              {minutes.toString().padStart(2, "0")}
            </span>
            Minutes
          </li>
          <li
            style={{
              display: "block",
              fontSize: "1.5rem",
              listStyleType: "none",
              padding: "1em",
              textTransform: "uppercase",
            }}
          >
            <span
              style={{
                display: "block",
                fontSize: "4.5rem",
              }}
              id="seconds"
            >
              {seconds.toString().padStart(2, "0")}
            </span>
            Seconds
          </li>
        </ul>
      </div>
    </div>
  );
Now, that we have date and image, we need to return the image as a response on GET request. To do that we'll create a function like this:
import { ImageResponse } from "next/og";
export const runtime = "edge";

export async function GET() {
 // all the date and tme calculation stuffs we did should be here

 // the Time component

  return new ImageResponse(<Time />, {
    width: 1200,
    height: 630,
  });
}
So, the whole code of the route.tsx file looks like this:
import { ImageResponse } from "next/og";
export const runtime = "edge";

export async function GET() {
  const eventDate = new Date("May 4, 2024");
  const currentDate = new Date();
  const timeRemaining = eventDate.getTime() - currentDate.getTime();

  const days = Math.floor(timeRemaining / (1000 * 60 * 60 * 24));
  const hours = Math.floor(
    (timeRemaining % (1000 * 60 * 60 * 24)) / (1000 * 60 * 60)
  );
  const minutes = Math.floor((timeRemaining % (1000 * 60 * 60)) / (1000 * 60));
  const seconds = Math.floor((timeRemaining % (1000 * 60)) / 1000);

  const Time = () => (
    <div
      style={{
        display: "flex",
        flexDirection: "column",
        alignItems: "center",
        justifyContent: "center",
        fontSize: 40,
        color: "black",
        background: "#ffd54f",
        width: "100%",
        height: "100%",
        padding: "20px",
        border: "3px solid #ddd",
        borderRadius: "10px",
      }}
    >
      <h1
        style={{
          fontWeight: "normal",
          letterSpacing: ".125rem",
          textTransform: "uppercase",
          fontSize: "3rem",
        }}
      >
        Countdown to my event
      </h1>
      <div
        style={{
          display: "flex",
          maxWidth: "100%",
        }}
      >
        <ul>
          <li
            style={{
              display: "block",
              fontSize: "1.5rem",
              listStyleType: "none",
              padding: "1em",
              textTransform: "uppercase",
            }}
          >
            <span
              style={{
                display: "block",
                fontSize: "4.5rem",
              }}
              id="days"
            >
              {days < 10 ? `0${days}` : days}
            </span>
            days
          </li>
          <li
            style={{
              display: "block",
              fontSize: "1.5rem",
              listStyleType: "none",
              padding: "1em",
              textTransform: "uppercase",
            }}
          >
            <span
              style={{
                display: "block",
                fontSize: "4.5rem",
              }}
              id="hours"
            >
              {hours.toString().padStart(2, "0")}
            </span>
            Hours
          </li>
          <li
            style={{
              display: "block",
              fontSize: "1.5rem",
              listStyleType: "none",
              padding: "1em",
              textTransform: "uppercase",
            }}
          >
            <span
              style={{
                display: "block",
                fontSize: "4.5rem",
              }}
              id="minutes"
            >
              {minutes.toString().padStart(2, "0")}
            </span>
            Minutes
          </li>
          <li
            style={{
              display: "block",
              fontSize: "1.5rem",
              listStyleType: "none",
              padding: "1em",
              textTransform: "uppercase",
            }}
          >
            <span
              style={{
                display: "block",
                fontSize: "4.5rem",
              }}
              id="seconds"
            >
              {seconds.toString().padStart(2, "0")}
            </span>
            Seconds
          </li>
        </ul>
      </div>
    </div>
  );

  return new ImageResponse(<Time />, {
    width: 1200,
    height: 630,
  });
}
And if we visit the same route again or do a quick GET request to our API route, we get the image that should look like this:

Link the image to meta tag
Now that we've our image ready, what about using it. So, head to layout.tsx file and in here, we'll create some meta tags. The most important one is this one:
<meta property="og:image" content="https://vercel-og-teal.vercel.app/api/og" />
If you are wondering that what type of image ends without .jpeg, .png, .svg extensions then you've every right to wonder. Basically, in here the api route we are setting as a content have ImageResponse so that route is essentially giving us an image to use. Now, we have our first meta tag ready, let's add more:
import type { Metadata } from "next";
import { Inter } from "next/font/google";
import "./globals.css";

const inter = Inter({ subsets: ["latin"] });

export const metadata: Metadata = {
  title: "OG Image Generator",
  description: "Generated by create next app",
};

export default function RootLayout({
  children,
}: Readonly<{
  children: React.ReactNode;
}>) {
  return (
    <html lang="en">
      <head>
        <meta charSet="utf-8" />
        <meta name="viewport" content="width=device-width, initial-scale=1" />

        <link rel="icon" href="/favicon.ico" />

        {/* Rest of the meta tags */}

        <meta
          property="og:image"
          content="https://vercel-og-teal.vercel.app/api/og"
        />
        <meta
          name="twitter:image"
          content="https://vercel-og-teal.vercel.app/api/og"
        />
      </head>

      <body className={inter.className}>{children}</body>
    </html>
  );
}
That file above my dear is our layout.tsx file and we're done with our OG image generation and linking that image kind of things.
Also, the
https://vercel-og-teal.vercel.apppoints to the version I deployed on vercel so don't forget to replace this link with the base URL of your site.
Dealing with cache
Did you try deploying the site and actually sharing it on social media? Didn't get what you expected? Well, blame caching for that. There are basically four types of caching that are playing role in raising this problem:
Nextjs Caching:
By default, Next.js automatically caches the returned values of fetch in the Data Cache on the server. You can read more about it here.
Vercel Caching:
So, remember we used edge runtime in the code above. Vercel's Edge Cache is used for caching entire static assets at the edge, such as images, fonts, and JavaScript bundles. The Vercel Data Cache is used for caching data fetched during a function's execution, such as API responses. You can read more about it here. This caching won't be a problem if you aren't using nextjs to deploy your application but there can be similar server caching, so beware of that.
Browser Caching:
So your beloved browser also cache your image and doesn't load up the new data. I found this great article online that explains the browser caching very well.
Social Media site's own caching:
When you share the link for the first time, the social media sites like facebook, discord get the og:image and they cache it. Literally, the image might be changing on our server but the social media sites cache the image and give us our old image back. You can find each social media's own article to understand how they cache. But sadly, I have to say that our countdown thing won't work while sharing the link in chat.
Now, that we know there are things like caching and all. So, let's try to remove them.
Note: I couldn't find a way to remove the social media site caching.
On your next.config.mjs file, you basically say don't cache. That's gonna prevent nextjs caching. Here is how you say it:
const nextConfig = {
  async headers() {
    return [
      {
        source: "/api/:path*",
        headers: [
          {
            key: "Cache-Control",
            value: "no-store",
          },
        ],
      },
    ];
  },
};

export default nextConfig;
Saw a strange path up there? So, that's what I'll try to explain next.
We're going to change the folder structure. We previously had src/app/api/og/route.tsx. Now, we'll change it to src/app/api/[id]/route.tsx. No, we aren't using id inside of the route.tsx file. We're just using the dynamic routing so that the user can have the different URL while accessing the same image, and that bypasses browser caching and also the vercel one.
Next thing you can do to be extra safe is to use this line of code on your route.tsx file:
export const dynamic = "force-dynamic";
This will force not to cache the response. You can learn more about vercel caching here: https://vercel.com/docs/edge-network/caching
And I've also rendered the image in the lading page of the site and the image looks like this: https://vercel-og-teal.vercel.app/. Yes, go visit and see the countdown.
Conclusion
This type of dynamic og:image generation comes in handy in a lot of place. We discussed two scenarios and really build one of them. Of course, it didn't work out as expected. So, countdown isn't really possible wherever and wherever the social media caching exist. So, at the end all I want to say is just have fun coding and...
Subscribe to my newsletter below. You know what type of content you can expect from me :)


