Do you want to take your react website from your localhost:3000 to yourdomain.netlify.app, then you are in the right place. Now let’s ship our react website from our physical machines to server so the client will have access to the application.
Note, I am showing another process insted of connecting with git
If you want you can watch the video.
If you already have react website the go to that directory(folder) and fire up your terminal. And write the npm run build to create a production build.
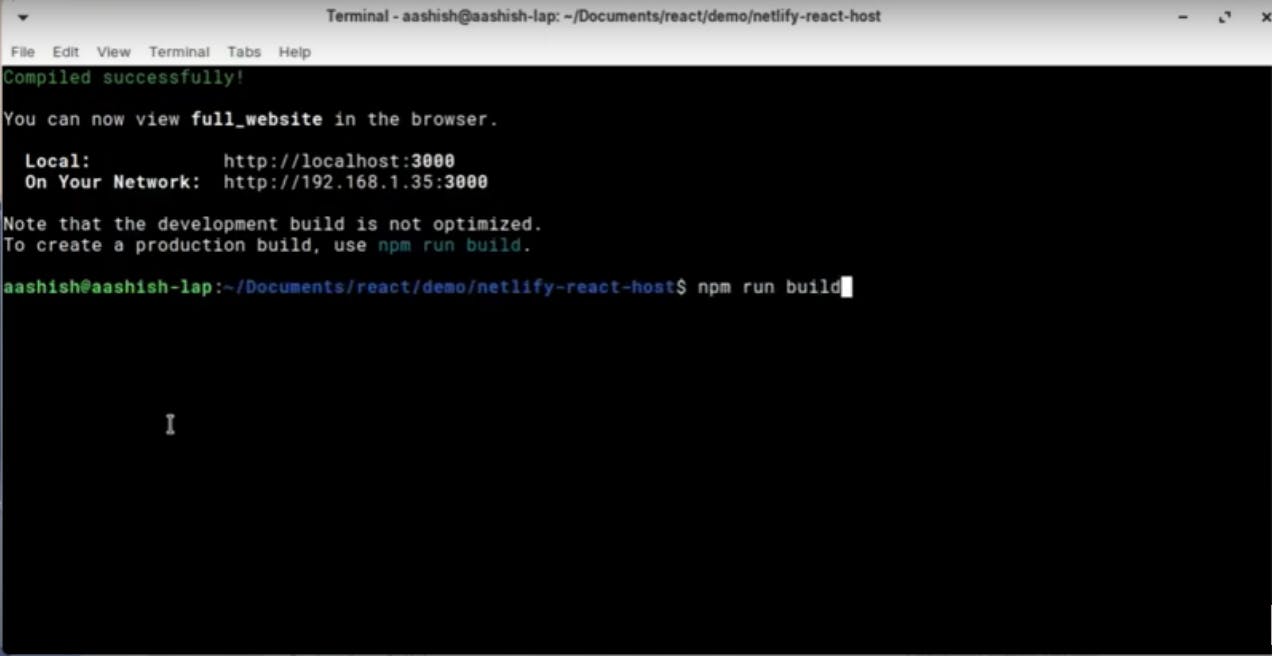
What is build?
When it’s time to move your app to production, having multiple JavaScript or CSS files isn’t ideal. When a user visits your site, each of your files will require an additional HTTP request, making your site slower to load. So to remedy this, you can create a “build” of our app, which merges all your CSS files into one file, and does the same with your JavaScript. This way, you minimize the number and size of files the user gets. To create this “build”, you use a “build tool”. Hence the use of npm run build.
Create a netfily account
 Netlify website
Creating a netlify account is one step process you can sign in with github, google, gitlab, etc. Now after login you will go to the overview page.
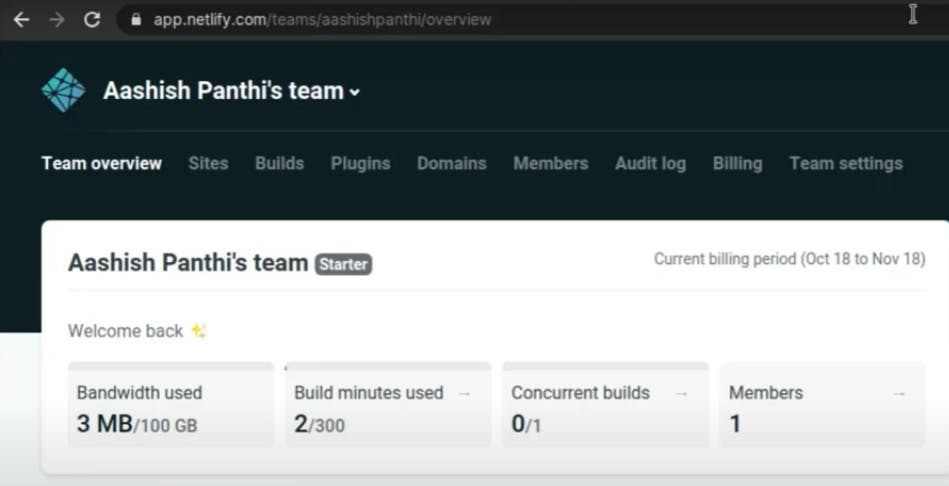 overview page
Now go to the sites
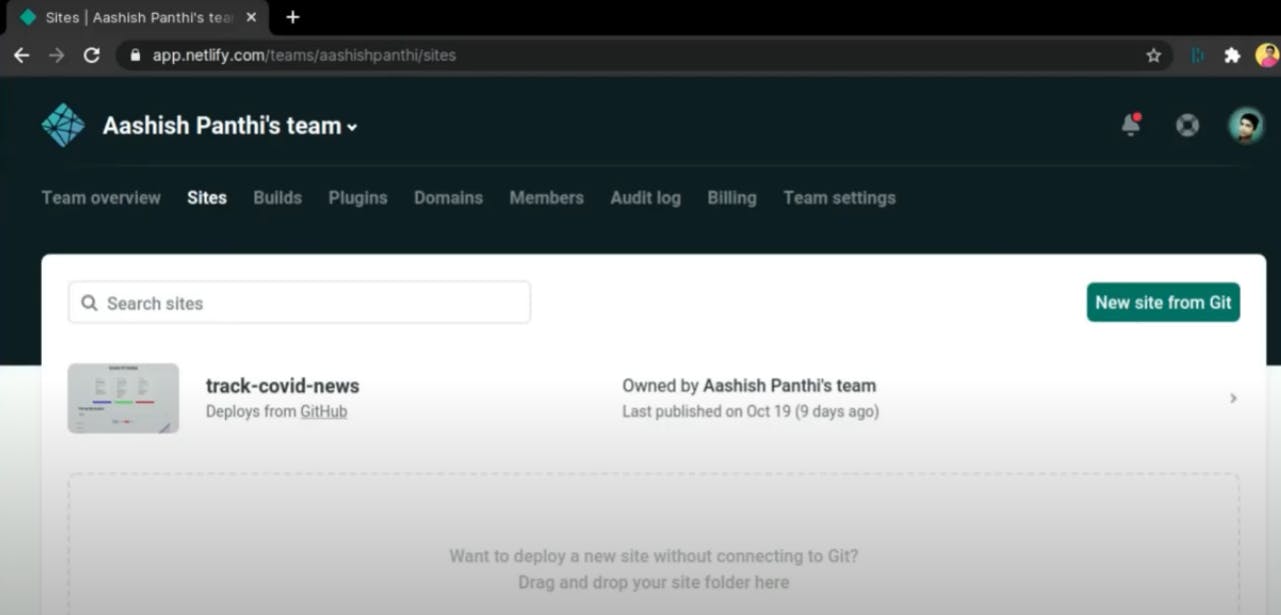 Sites page
Here drag and drop your build folder that was created when you had run npm run build ,the build folder should be inside your app together with src and node_modules folder. The large box with dashed border is where you will drop your build folder.
After droping your folder, you will find something like this
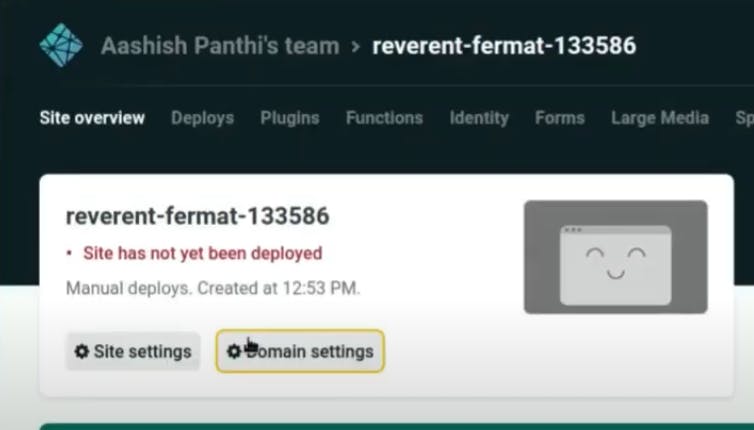
When it will finish your deployment, it will give you a link where you can find your app. If you don’t want that domain then check the above video, I have shown there to change your domain name.
Thank you so much for your time 😃

