

Send mail with node and outlook
Let's look at the real demo where we'll send email using Nodemailer and outlook(hotmail). It's insanely simple and free.

I am a developer from Nepal who loves playing with tech.
No extra setup, no sign up for third party services, just import a module and use it in your application. Then send your mail. It's that simple. Now, let's go over detail:
What is Nodemailer ?
Nodemailer is a module for Node.js applications to allow easy as cake email sending. Nodemailer is licensed under MIT license. Today it is the solution most Node.js users turn to by default and it also have zero dependencies.
Installation
First initialize an empty project (you can use it in your current application also).
npm init -y
If you already have a project or just initialized one, now install nodemailer with this command:
npm i nodemailer
After you've installed Nodemailer, you will get something like this inside your package.json.
{
  "name": "demo",
  "version": "1.0.0",
  "description": "",
  "main": "index.js",
  "scripts": {
    "test": "echo \"Error: no test specified\" && exit 1"
  },
  "keywords": [],
  "author": "Aashish Panthi",
  "license": "ISC",
  "dependencies": {
    "nodemailer": "^6.6.3"
  }
}
Create files
Create a .js file. I'm creating index.js file here and I recommend you to create same.
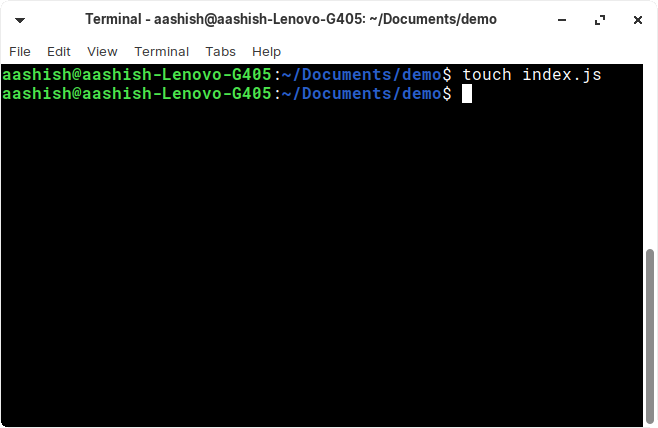
And create another file with name .env, I mean with extension only😄.
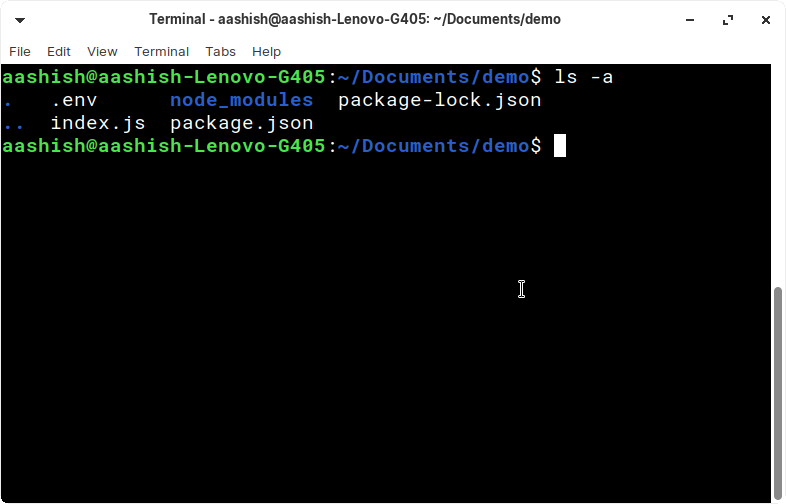
Now your project structure will look something like this:
Let's write some code
Now, import your nodemailer module like this (Common JS style):
const nodemailer = require("nodemailer");
Or, use ES6 import/export like this:
import nodemailer from 'nodemailer'
To use import/export, you have to add
"type": "module"inside yourpackage.jsonfile.
Again it looks like this:
{
  "name": "demo",
  "version": "1.0.0",
  "description": "",
  "type": "module",
  "main": "index.js",
  "scripts": {
    "test": "echo \"Error: no test specified\" && exit 1"
  },
  "keywords": [],
  "author": "Aashish Panthi",
  "license": "ISC",
  "dependencies": {
    "nodemailer": "^6.6.3"
  }
}
To send emails, you need a transporter object, like this one:
const transporter = nodemailer.createTransport(transport)
Transporter is going to be an object that is able to send mail. Learn more about transporter here.
transport contains configuration. But in this example, we are passing object directly.
const transporter = nodemailer.createTransport({
        service : hotmail,
        auth : {
            user : yourusername@outlook.com,
            pass : yourpassword
        }
    })
I don't feel the upper one safe to use, due to that reason we have created .env file earlier. Now let's create environmental variables.
EMAIL_SERVICE = hotmail
EMAIL_USERNAME =
EMAIL_PASSWORD =
EMAIL_FROM =
EMAIL_SENDER =
Leave EMAIL_SERVICE as it is, but insert values to other blank variables. Like:
EMAIL_USERNAME = usermail@outlook.com, EMAIL_PASSWORD = pass, EMAIL_FROM = usermail@outlook.com and EMAIL_SENDER = Your Name.
Now we need to use those variables inside our index.js file. To do so, we are going to install another simple module called dotenv, like this:
npm install dotenv
Let's import this module. Again we have two ways. Just follow one (like you did while importing nodemailer).
CJS:
const dotenv = require("dotenv");
ES6:
import dotenv from 'dotenv'
At last, we need to config and we are done:
dotenv.config()
Now, we can create a transporter like this:
const transporter = nodemailer.createTransport({
        service : process.env.EMAIL_SERVICE,
        auth : {
            user : process.env.EMAIL_USERNAME,
            pass : process.env.EMAIL_PASSWORD
        }
We need options object to send email, create one like this:
    const options = {
        from : process.env.EMAIL_SENDER,
        to: "person@example.com",
        subject: "Reset password",
        text: "Here is a reset token."
    }
I hope the above options are self descriptive. Well, let's see them one by one:
from: sender emailto: receiver email address (your target email id)subject: Subject of your email (in my case it's reset password)text: Message or body section
We are all set to send mail using node.js. call transporter.sendMail method and pass options object as a parameter. Then we have callback function, where we get status of our mail like error and info.
 transporter.sendMail(options, (error, info) =>{
        if(error) console.log(error)
        else console.log(info)
    })
Above code snippet logs error, if we get error else it logs the information(status) of mail.
At last let's combine all our code snippets (of index.js) into one and wrap inside a function sendMail:
import nodemailer from 'nodemailer';
import dotenv from 'dotenv';
dotenv.config();

const sendMail = (to, subject, message) =>{
    const transporter = nodemailer.createTransport({
        service : process.env.EMAIL_SERVICE,
        auth : {
            user : process.env.EMAIL_USERNAME,
            pass : process.env.EMAIL_PASSWORD
        }
    })

    const options = {
        from : process.env.EMAIL_SENDER,
        to,
        subject,
        text: message,
    }

    transporter.sendMail(options, (error, info) =>{
        if(error) console.log(error)
        else console.log(info)
    })

}
I'm using ES6 modules in this demo.
Now we can call sendMail function again and again (when we need). Let's call it 😎
sendMail('aashish@mozej.com', 'Thank you!', 'Thank you so much for sticking with me');
Run our index.js file:
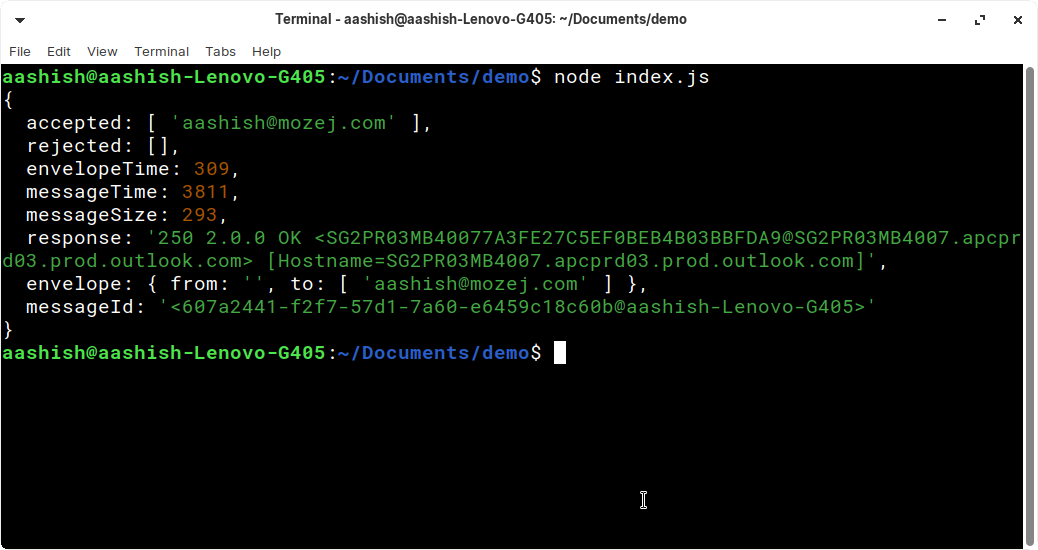
And our mail is sent.
Remember, you can do much more than this demo. Never stop exploring, never stop learning :) .


