

Pixel Tracking, What is it?

I am a developer from Nepal who loves playing with tech.
What is Pixel tracking?
Pixel tracking is nothing but just waiting for a get request when a 1x1 pixel image loads and we perform some operations after the request. Difficult to understand? Let me elaborate:
Prerequisites
Before understanding the whole picture of pixel tracking. You need to understand
How the image loads
You have a simple website that only has an image. Now I want you to go to the network tab using the developer tool. Observe the request that is being sent from your website. If you don't have an on-the-go website. You can use the codepen project that I am embedding here.
Just for this demo, you can use images from other sources like unsplash or Pexels. Remember to use an image that has a different origin.
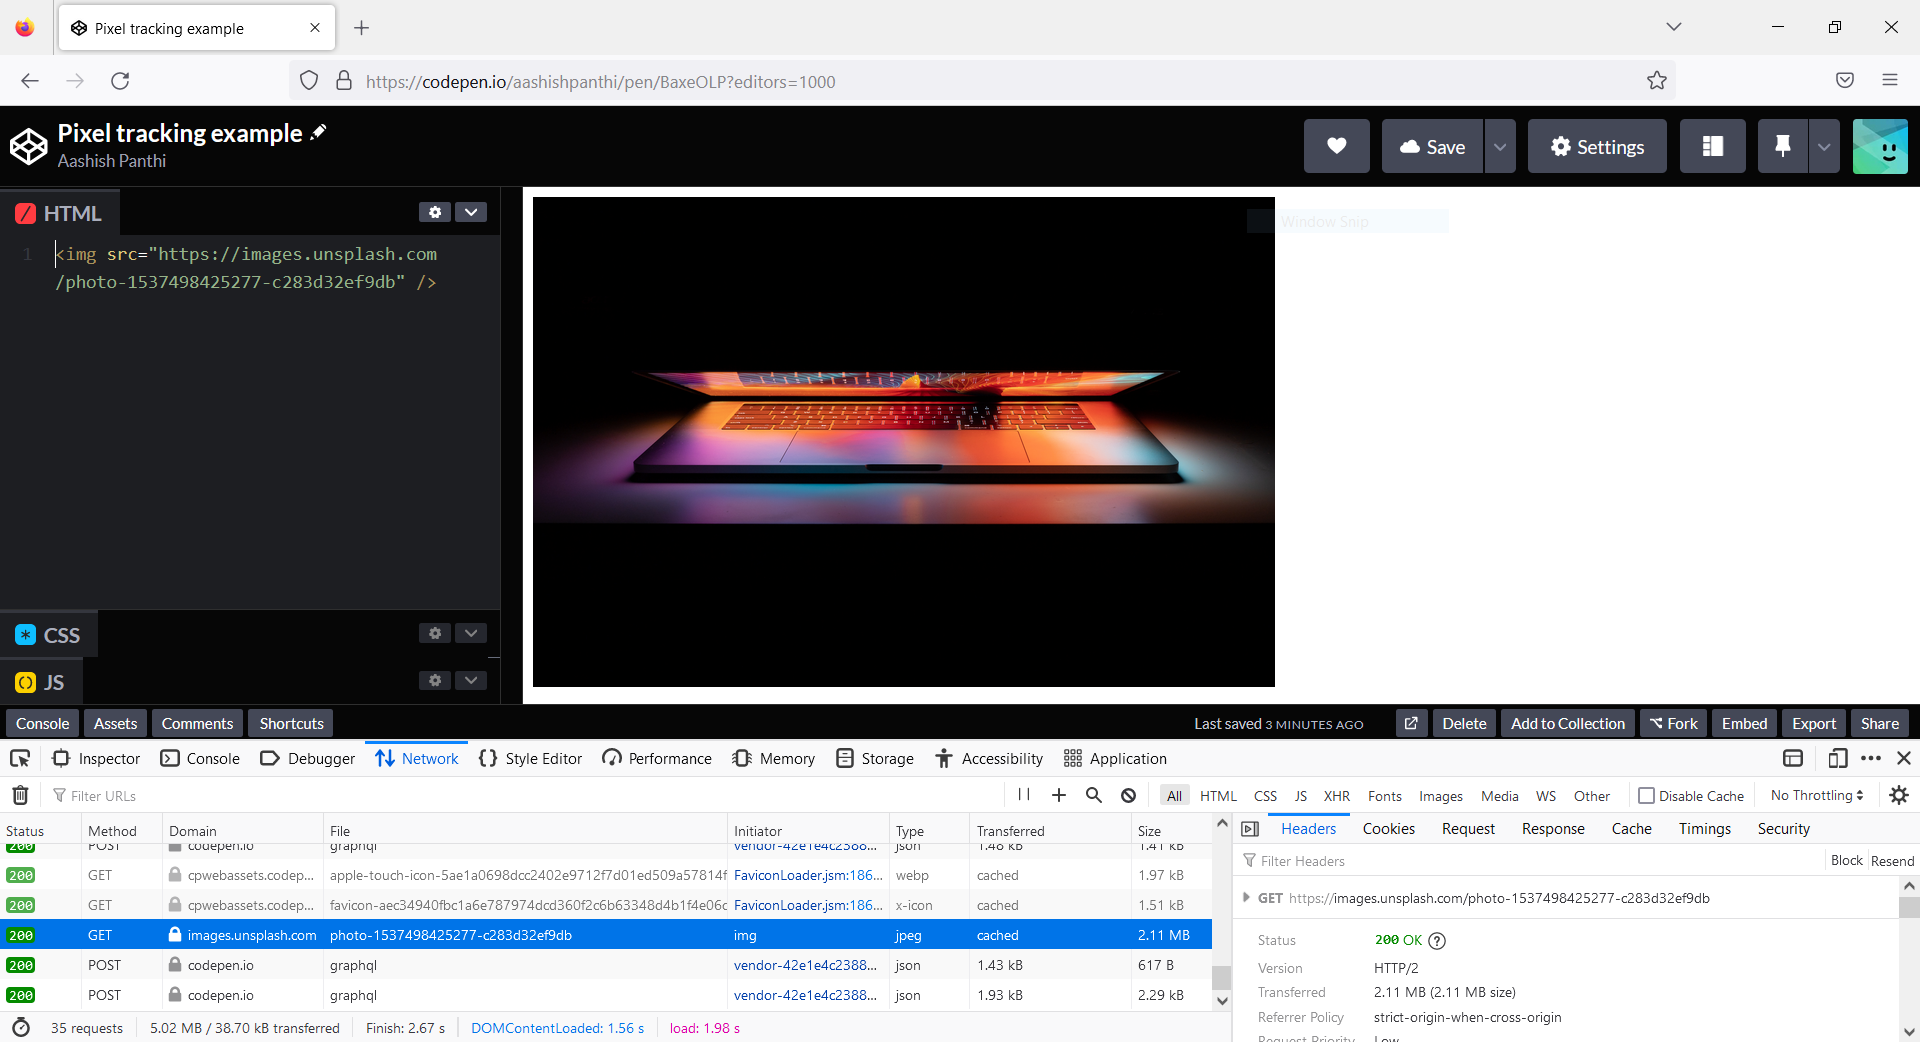
In the above screenshot, you can see that a get request is being sent and as a response, we are getting an image. Then only we can see the image visible on the screen.
What is a GET request?
A GET request is a way for you to grab data from a data source. Yes, when you surf the internet you are sending a GET request and what you get as a response is shown to you by the browser.
All of the URL visits and web surfing from a browser send a GET request.
What is a pixel?
A pixel is the smallest element of the screen. It is so tiny that you will face difficulties seeing it from the naked eye. Normally the photo you click from your mobile phone contains several million pixels. Now you can imagine how small a single pixel is.
Now, What is pixel tracking?
As I said earlier, pixel tracking is nothing more than listening to a GET request that is being made every time an image loads. You can put your GET request endpoint on your image's src attribute and listen to your GET request.
In pixel tracking, we create an image having a width of 1px and height of 1px and in the src attribute, we pass the URL where the GET request is to be sent every time the image loads.
<img src = "__your_endpoint__" w = "1" h = "1" />
We are not providing any image source. So, it is sure that the image will not load and the text we provide inside of the alt attribute will be shown. Generally, we don't provide alt attributes to those images.
In conclusion, we have an image but the user doesn't know there is an image because the image is too small and it doesn't even load.
What are its uses and applications?
Pixel tracking is used heavily in marketing. Suppose you run a business and you are sending different marketing emails related to the launch of a new product or a new service to your users. Now you don't know if your email has been read or not. In those scenarios, you can use pixel tracking to know how many users opened up their emails and how many didn't. Also, to know who opened up the email you sent.
Similarly, it used also used to track user behavior, site conversions, web traffic, and other metrics similar to a cookie.
Why do we use it?
A short answer is that a pixel is a very small image, almost invisible which is used to trigger a get request. Hence the email receiver or the receiver, in general, doesn't even know they are being tracked.
Want to explore more? Let's see an example of a pixel tracker.
Example using Express
So I want to share a quick example of pixel tracking using express js. Knowing javascript will be a plus point but you can get a pretty good understanding even if you are not familiar with javascript.
Start an express server
First of all, create a new folder. Then go inside that folder. Now, initialize a node project here.
If you are on linux or Mac you can type out these commands on your terminal. You can do the same thing with git bash on Windows.
mkdir pixel-tracking
cd pixel-tracking
To initialize the node project, you run the command npm init. Also, add -y flag because we don't want to get deep into examples.
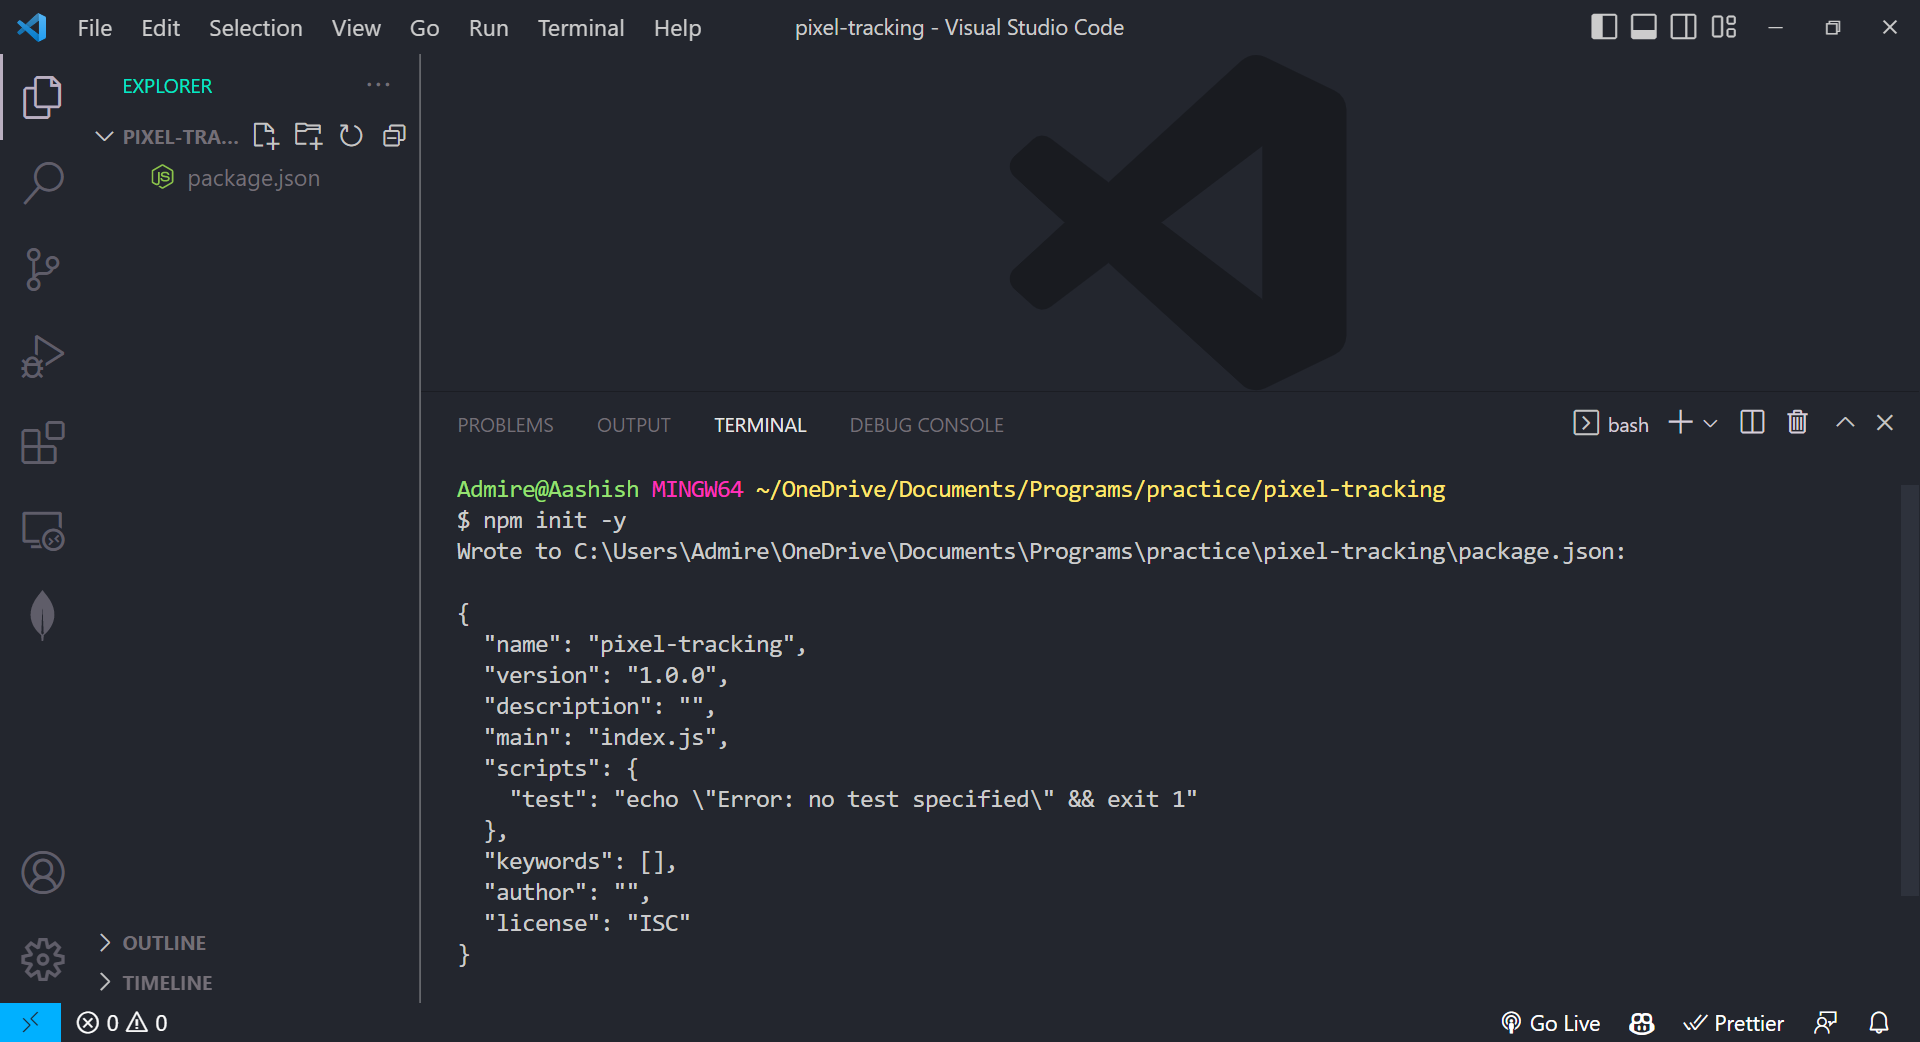
Now you can see a package.json created in your root directory of the project.
Now create an index.js file. This will be the entry point of the server. You can do that with the command: touch index.js
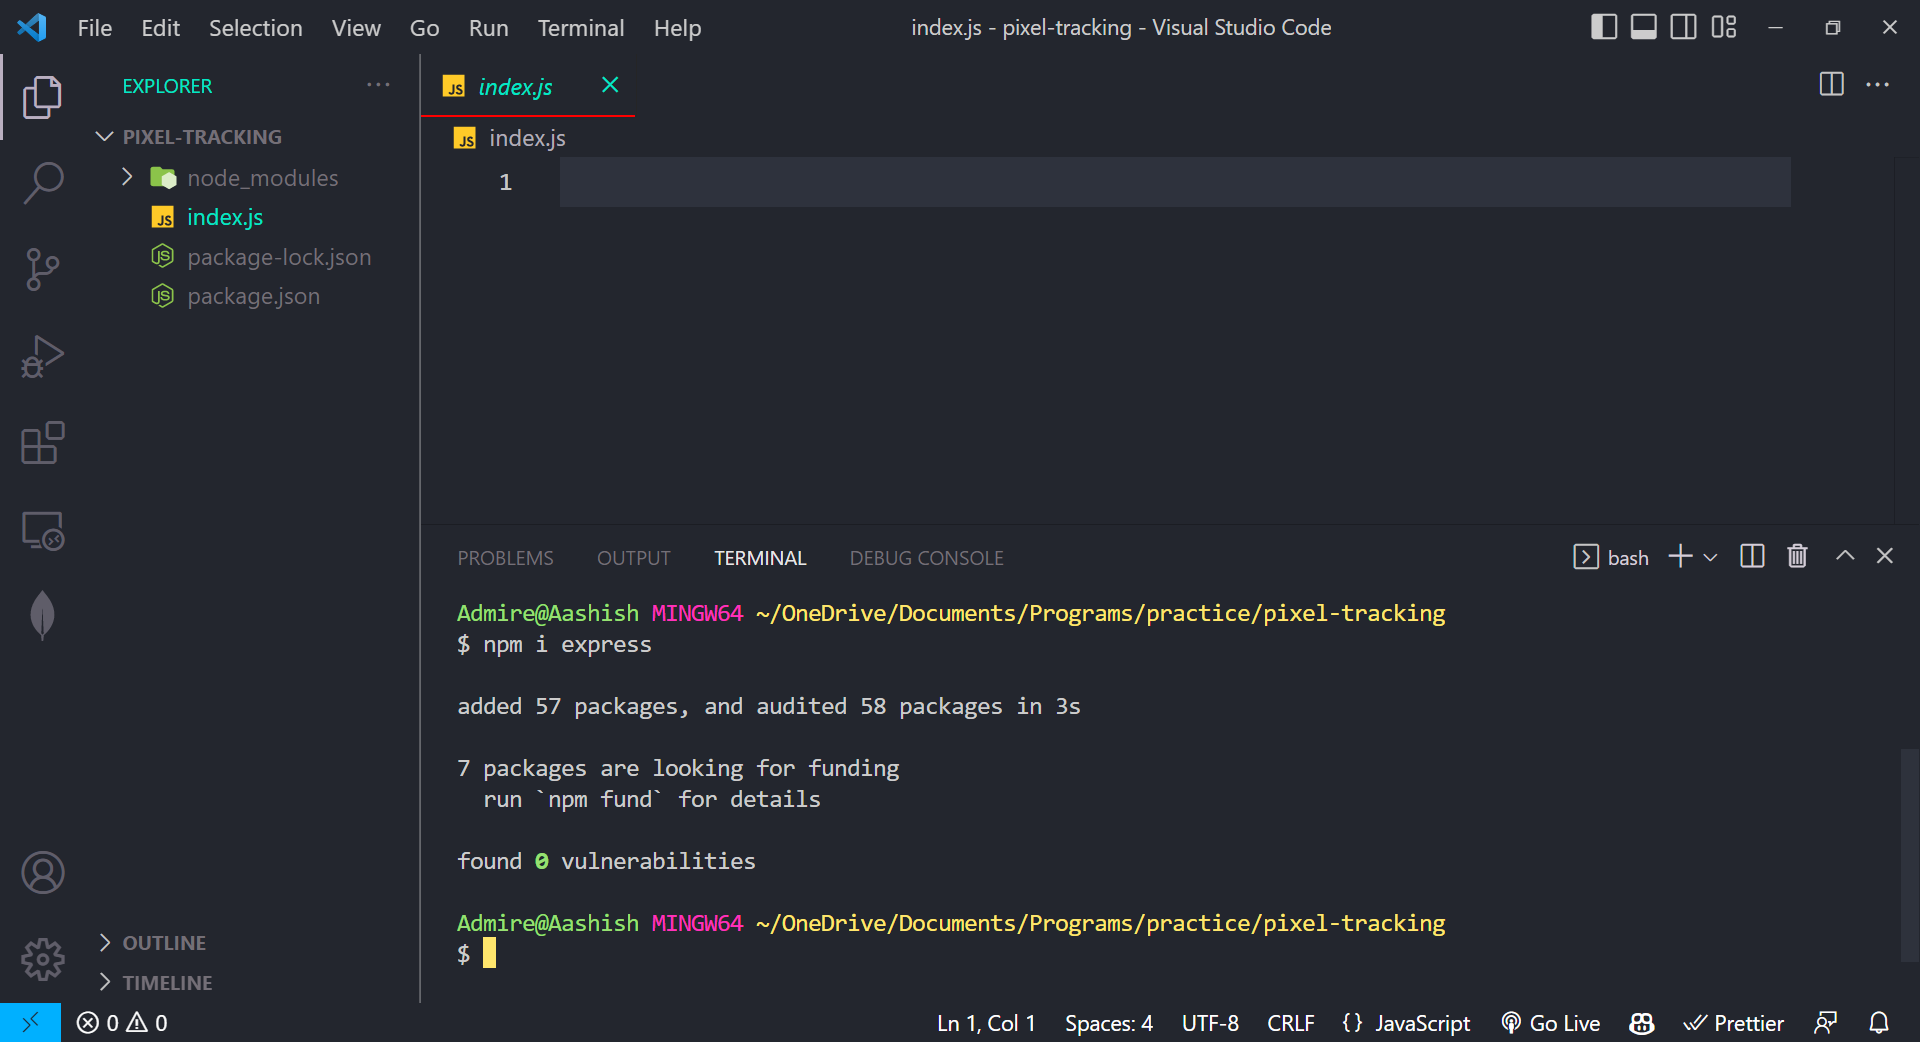
Let's start creating our express server after installing express. You can install express with the command:
npm i express
Now open up your index.js file and start an express server. You can create an express server with the following code.
const express = require("express");
const app = express();

const port = 5000;

app.listen(port, () => {
  console.log(`Example app listening at http://localhost:${port}`);
});
Now you can start up a server with the following command:
node index.js
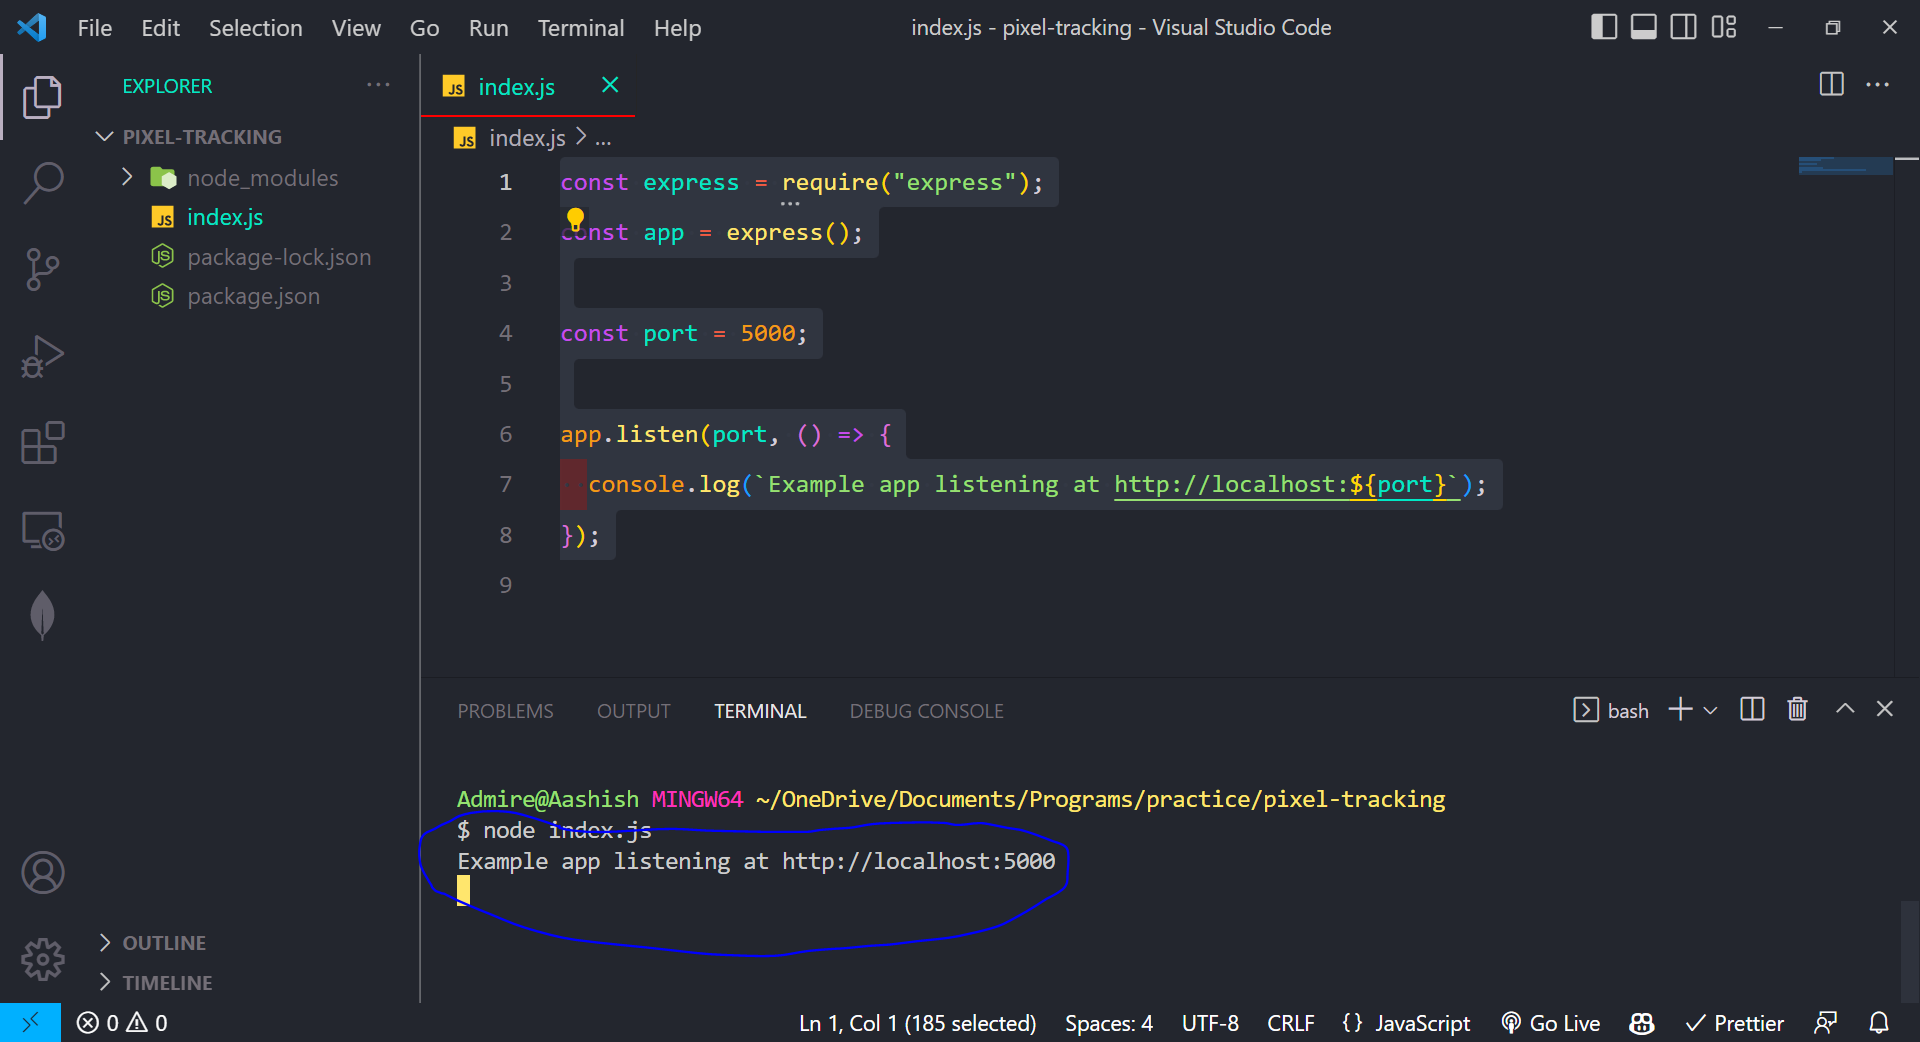
Just make sure that your server is running properly.
Listen to an endpoint
Till now, we have created a server of no use. Let's listen to some routes. We can listen to the / route with the following code which returns Hello World as a response.
app.get("/", (req, res) => {
    res.send("Hello World!");
});
Now you should visit http://localhost:5000/ and see the text Hello World in the screen.
But, for pixel tracking what we need to do is, we want to have the same routes listening for different pixel requests. To do so, we can assign id to each pixel.
Let's create an endpoint for our purpose.
app.get("/:id", (req, res) => {
  const pixelId = req.params.id;
  res.send(pixelId);
});
The above code looks for the id in the parameter and just returns the id to the user. Don't worry we will do further things. For now, let's just test this endpoint.
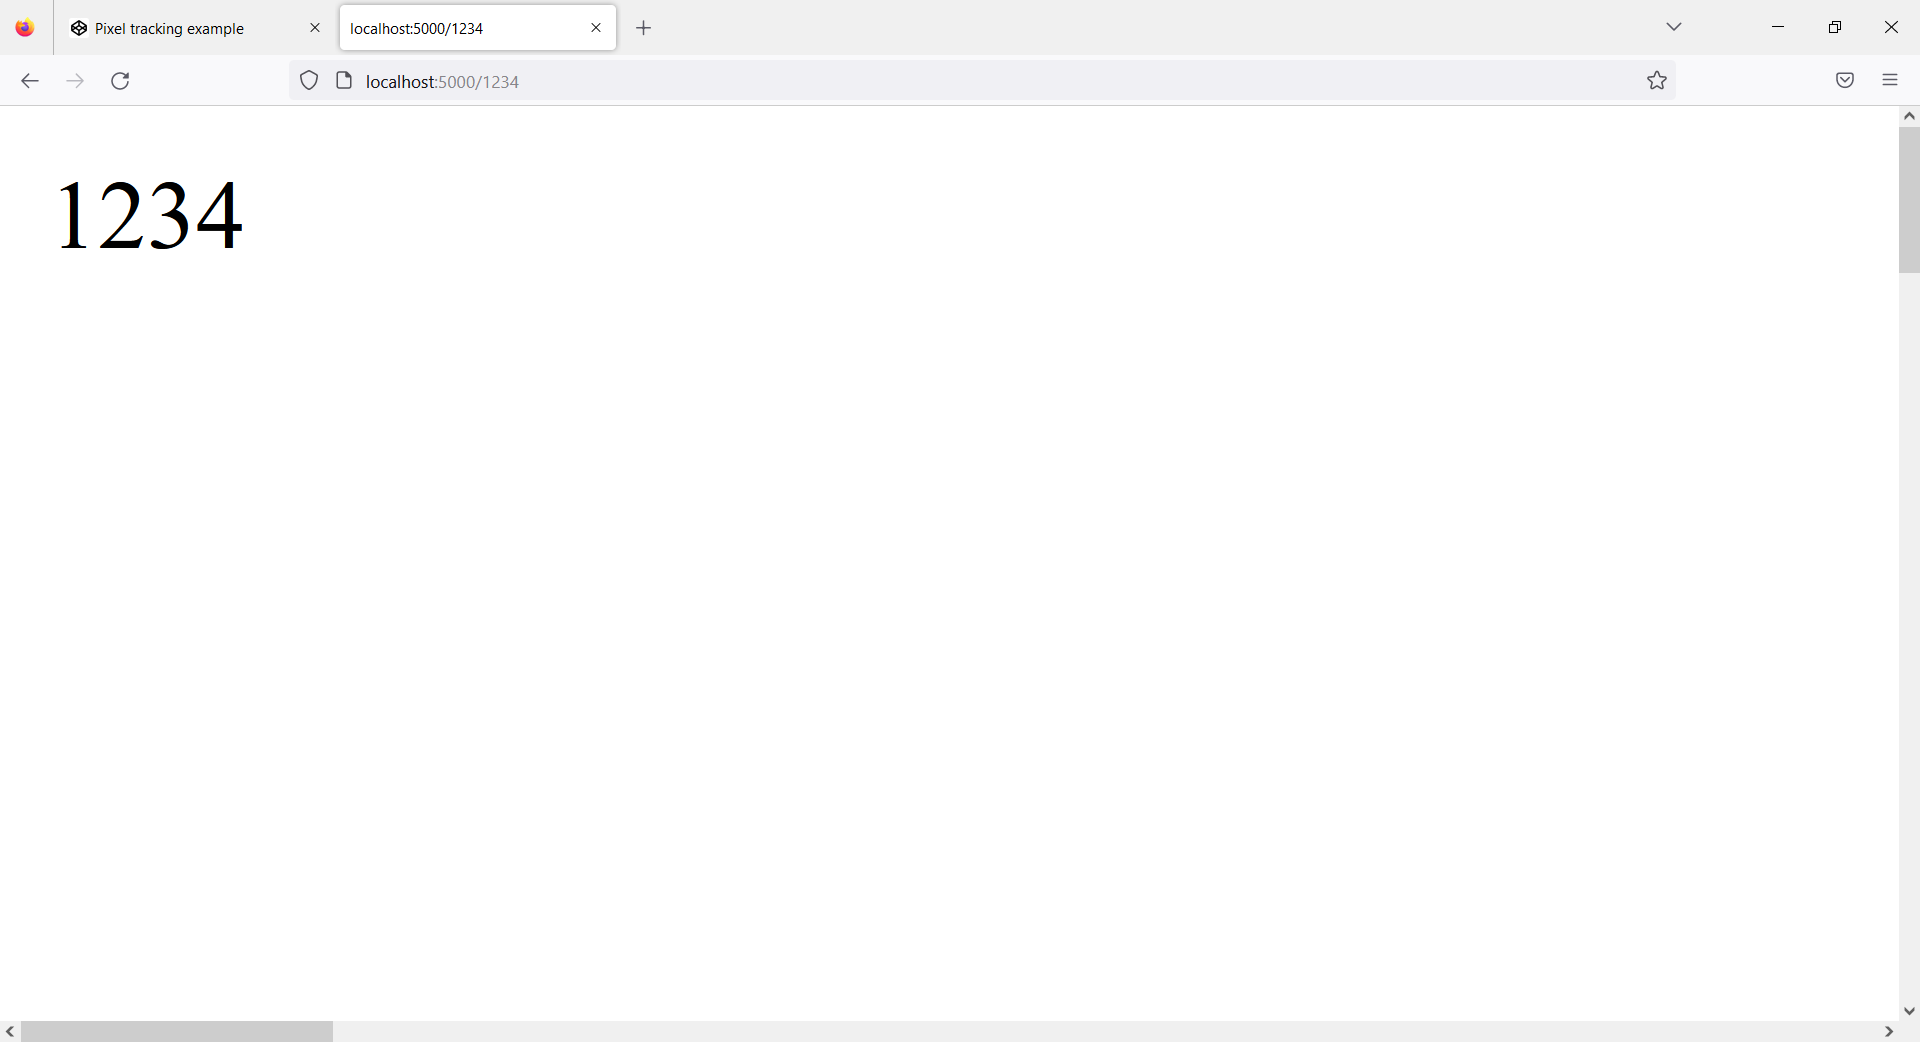
Yes, it returns us the correct id that we sent. It means our server is doing its thing.
It is not possible to connect a database and make a full-fledged application at this time. It is out of the scope of this tutorial. Instead, I will guide you a little more before ending this article.
const express = require("express");
const app = express();

app.get("/:id", (req, res) => {
  const pixelId = req.params.id;

  // Fetch the pixel from the database

  // Update the pixel's status
  // Update the pixel's last updated date
  // Update the pixel's last updated IP
  // Update the pixel's last updated user agent
  // Update the pixel's open count

  // Save the pixel to the database

  // send an error as a response
  res.status(500).send("Something went wrong");
});

const port = 5000;

app.listen(port, () => {
  console.log(`Example app listening at http://localhost:${port}`);
});
In the end, your express server code may look like this. I have placed comments on what you can do.
If you want to learn more about implementing pixel tracking, I have other resources that you can check out.


